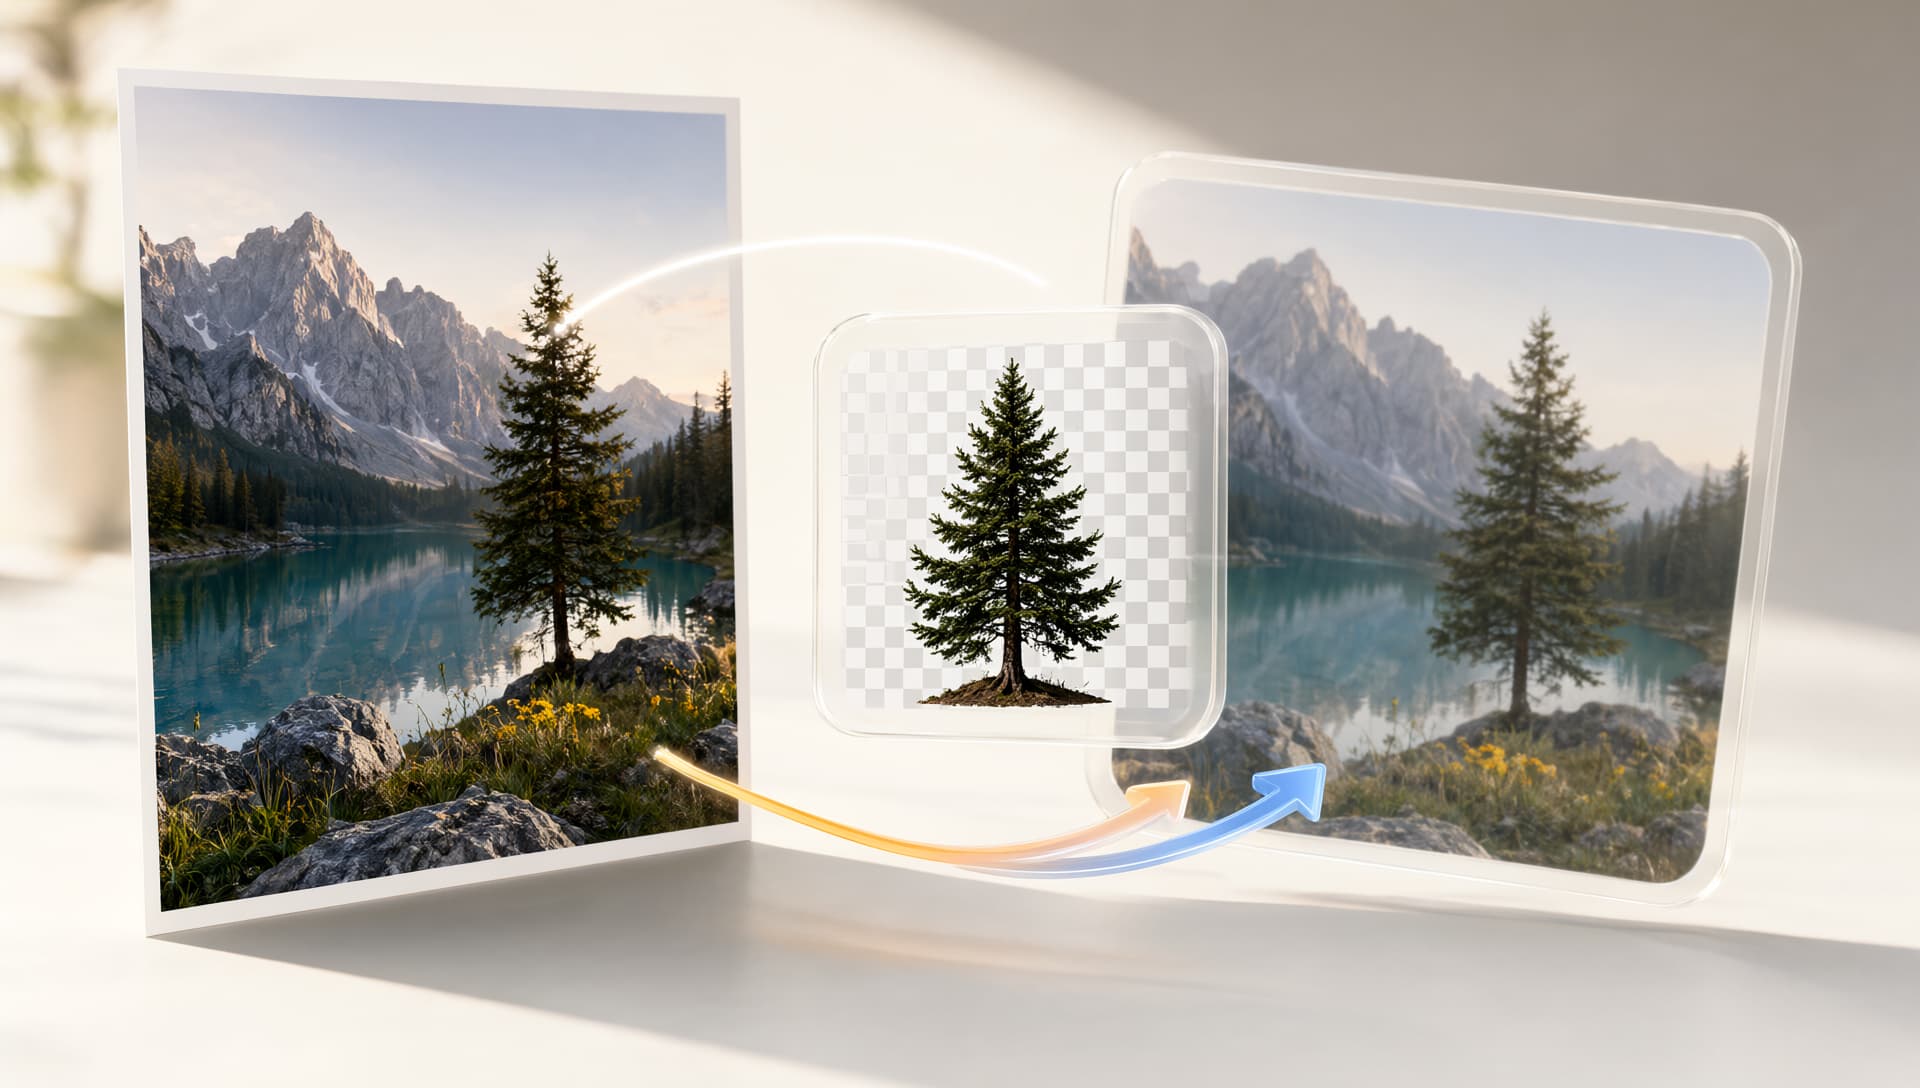
Large image files can quietly slow down a website, make email attachments harder to send, and take up unnecessary storage space. A high-resolution photo from a modern smartphone or camera can easily be several megabytes, even when it is displayed at a much smaller size.
The good news is that you can often compress images without a noticeable loss of quality. The key is understanding which settings affect file size and how much compression an image can tolerate before visual quality starts to suffer.
Whether you are optimizing product photos for an online store, preparing images for a website, or simply trying to reduce image file size before uploading, the right compression settings can make a significant difference.
What determines image file size?
Three factors have the biggest impact on the size of an image: its file format, compression quality, and dimensions.
1. Choose the right image format
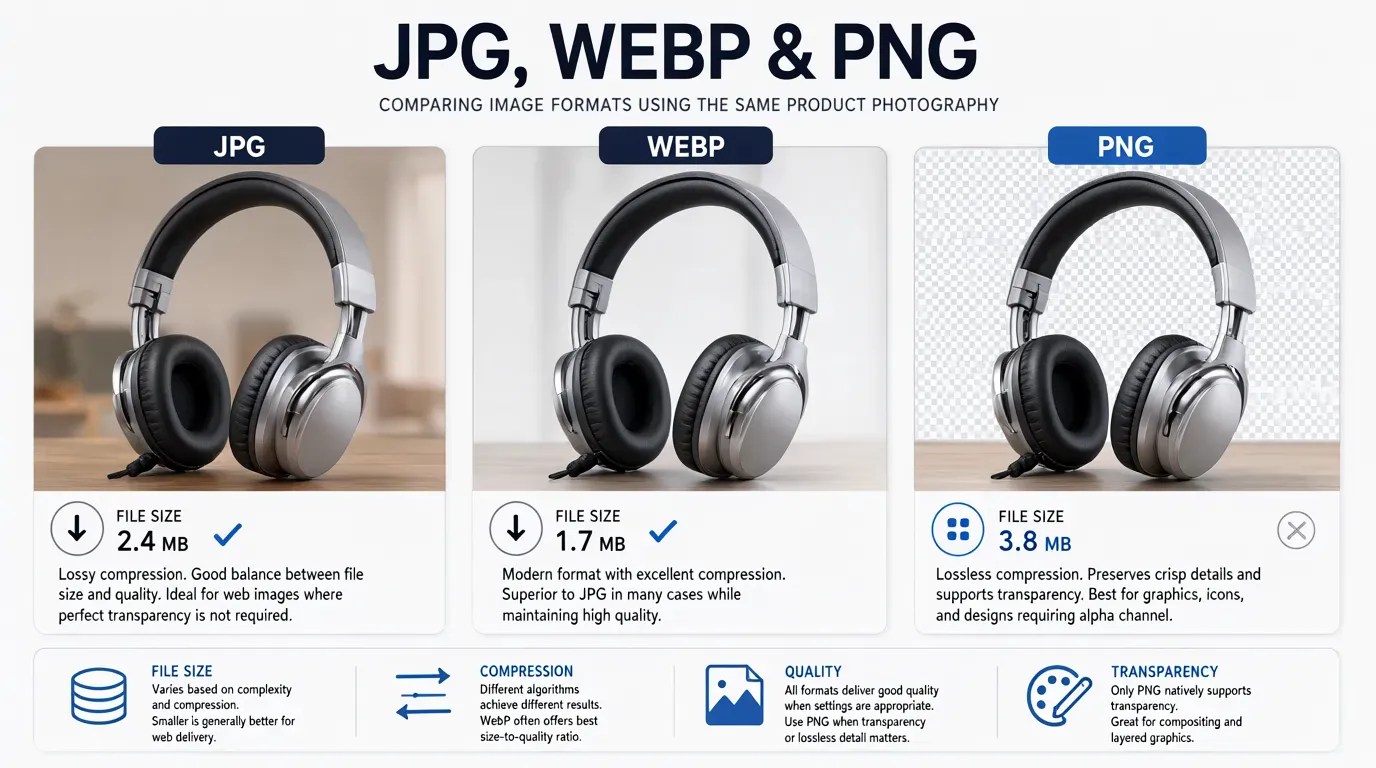
Different image formats use different compression methods.
JPG is a practical choice for photographs and other images containing many colors and complex details. It uses lossy compression, which means some image information is discarded to achieve a smaller file.
WebP can often provide a smaller file size than JPG while maintaining similar visual quality, making it a useful format for websites and modern browsers.
PNG uses lossless compression and is particularly useful when you need transparency, sharp graphics, screenshots, icons, or images containing text. However, a PNG photograph can be considerably larger than an equivalent JPG or WebP image.
Choosing the appropriate format before compression can therefore make a bigger difference than simply lowering the quality setting.
2. Adjust the compression quality
With lossy formats such as JPG and WebP, the quality setting determines how aggressively the image is compressed.
For example, imagine starting with a 4.2 MB photograph:
Original file:        4.2 MB
Compressed version:   310 KB
Approximate reduction: 93%
The exact result depends on the image, its dimensions, format, and compression algorithm. However, this illustrates why image compression can dramatically reduce file size.
A quality setting around 75–85 is often a useful starting point for photographs intended for websites. At this level, the reduction in file size can be substantial while visual differences remain difficult to notice at normal viewing sizes.
Going too low can eventually introduce visible artifacts. Fine details may become muddy, edges can develop blocky patterns, and smooth gradients may show unwanted banding.
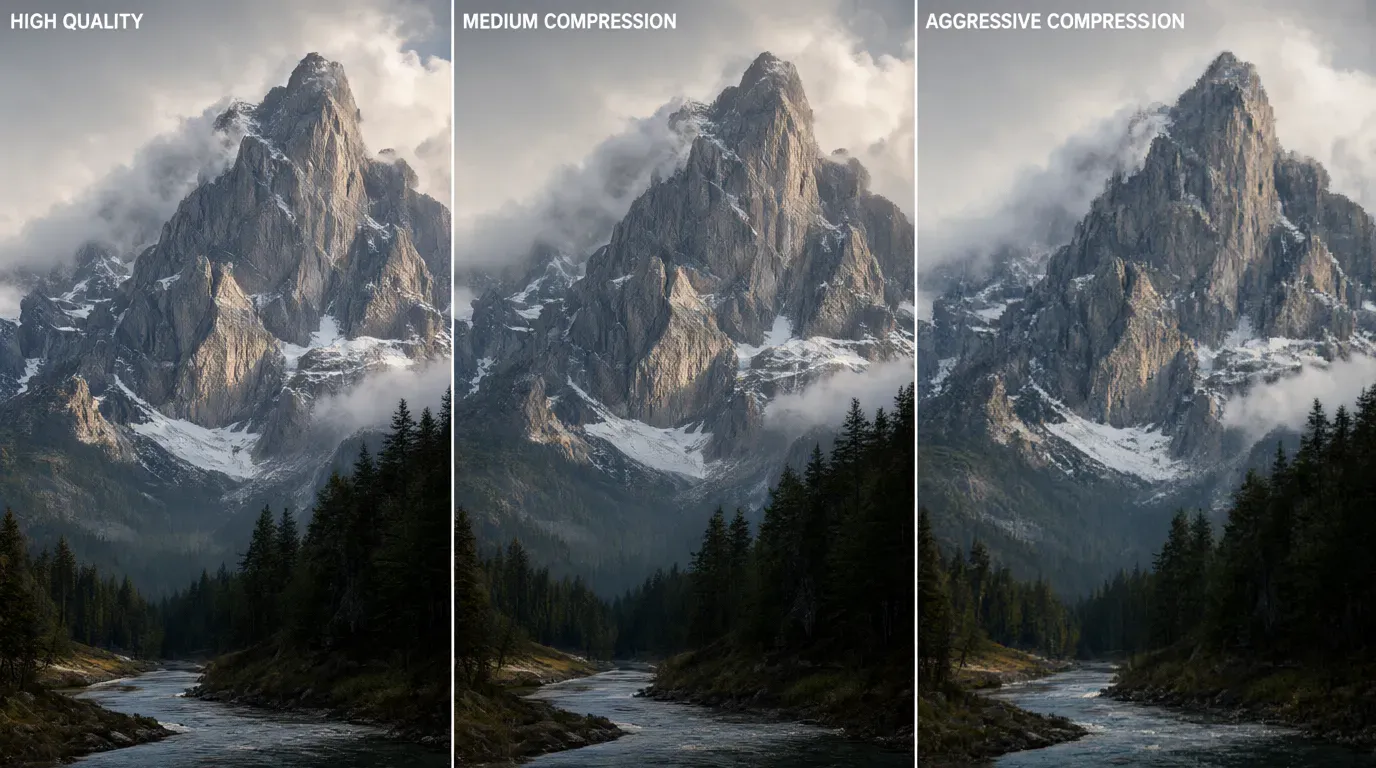
Practical rule: don't aim for the smallest possible file. Aim for the smallest file that still looks good at the size your visitors will actually see.
3. Resize images to their actual display size
Compression quality isn't the only way to reduce image size. Image dimensions can have an even larger effect.
Consider a 4000 × 3000 pixel photograph displayed in a website card that is only 800 pixels wide. Sending the original 4000-pixel image means the browser has to download substantially more data than the visitor needs.
Resizing the image before or during optimization can dramatically reduce the number of pixels that need to be stored and downloaded.
For example:
Original:       4000 × 3000 px
Display size:    800 × 600 px
If an image will never be displayed larger than 800 pixels wide, there is usually little benefit to delivering a 4000-pixel version to every visitor.
This is particularly important for product pages, blog articles, galleries, portfolios, and mobile websites where large images can contribute significantly to page weight.
How much can image compression reduce file size?
There is no single compression percentage that works for every image.
A simple photograph with large areas of similar colors may compress extremely well. A detailed photograph containing foliage, hair, textures, or fine patterns may require a higher quality setting to remain visually convincing.
The goal is to balance file size and visual quality.
Instead of asking, "How much can I compress this image?", a better question is:
"How small can this image become before the quality difference is noticeable?"
That approach produces more consistent results because it considers how the image will actually be used.
When should you compress images?
Image compression is useful in many everyday situations.
Websites
Large images can increase page weight and make pages slower, particularly on mobile connections. Compressing images before publishing can help reduce the amount of data visitors need to download.
For websites, it is also important to use dimensions appropriate for the layout rather than uploading unnecessarily large originals.
Online stores and product photography
E-commerce websites often contain many product images. Compressing each image can significantly reduce the total amount of data transferred while keeping products looking sharp and professional.
This is especially useful for product listings, category pages, and image-heavy shopping experiences.
Email attachments
Large photographs can make emails difficult to send or receive. Compressing images before attaching them can reduce attachment size while preserving enough quality for normal viewing.
Social media and online platforms
Many platforms impose upload limits or process images after uploading. Reducing the file size beforehand can make uploads faster and give you more control over the final image.
Storage and backups
A collection of high-resolution photographs can consume a large amount of disk space. Compressing copies intended for everyday use can reduce storage requirements while allowing you to keep the original files separately.
Compress images online
If you don't want to install image-editing software, an online image compressor can handle the basic optimization process directly in your browser.
With FileConv's image compressor, you can upload an image, compress it, and download a smaller version without installing desktop software.
The goal is simple: reduce image file size while keeping the image looking good.
For images destined for a website, it is generally a good idea to compare the compressed result with the original before publishing. Look closely at important details such as faces, product edges, text, shadows, and smooth gradients.