How to Compress a PNG Without Losing Quality
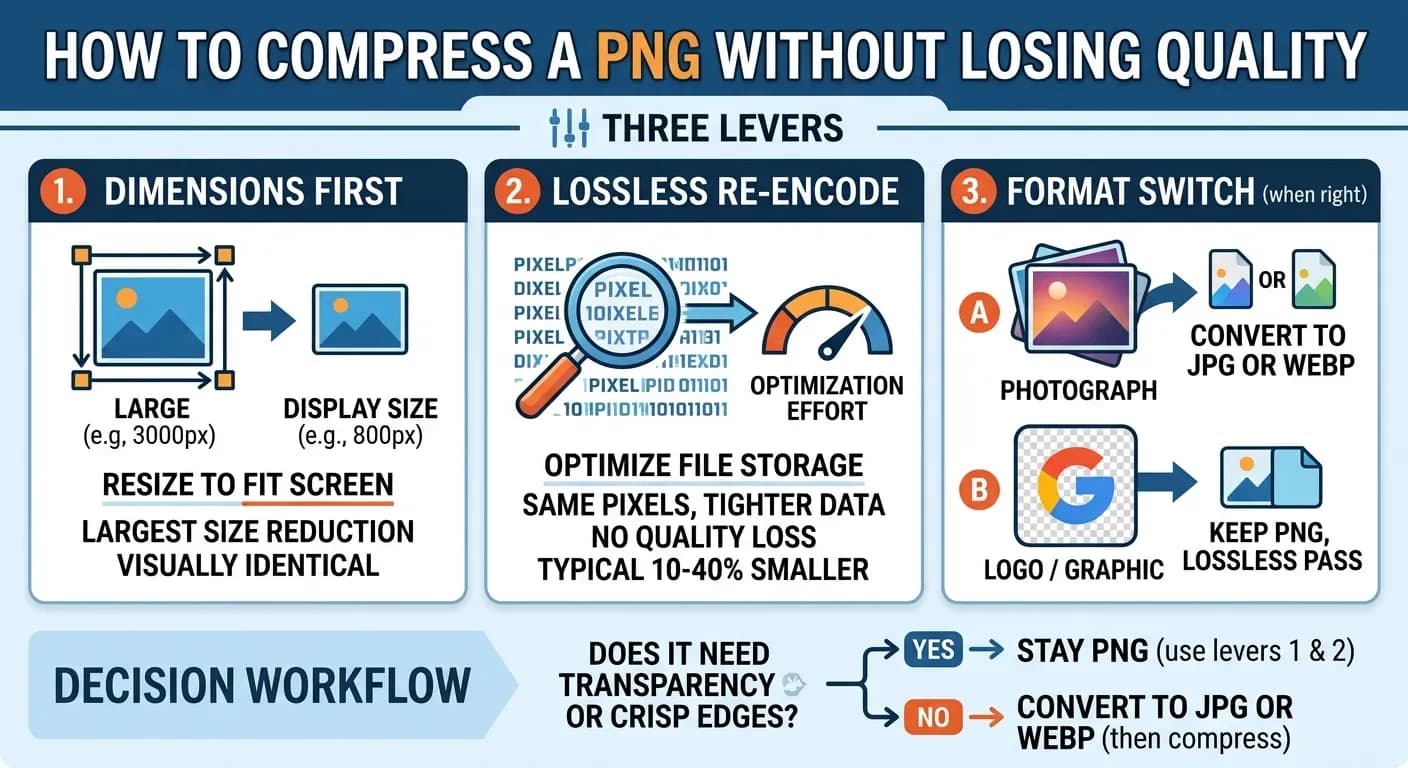
You open the save dialog to make a PNG smaller, and there is no quality setting to turn. That is not a bug — it is the format. PNG is lossless, so there is no quality dial, no re-compression trade-off, and no "medium" version of your file. What you have instead are three levers, and they work in a specific order.
This guide covers why PNGs grow so large, what "compressing" a PNG can and cannot do, and the workflow for getting a big PNG under a size limit — or for recognizing the moment when the real fix is a different format.
Why PNG files get so large
A PNG stores the exact pixels of the image — every one, unchanged — and then compresses that data without throwing anything away. Two consequences matter here:
- A re-saved PNG can never look different from the original. There is no quality setting because no information is ever dropped. If a "compressed" PNG looks worse, something went wrong somewhere else.
- The file only gets smaller when the data becomes easier to compress. A logo with flat colors compresses well. A photograph saved as PNG — gradients, skin tones, foliage — is almost incompressible data, and the file stays large no matter what you do to it.
That second point is the root of most "my PNG is 4 MB" problems: a camera photo was exported or saved as PNG, which wrapped an already-compressed photo in a lossless container. The result is often larger than the original JPG the camera produced.
The three levers, in the order that works
| Lever | What it does | Typical effect |
|---|---|---|
| 1. Resize to display size | Fewer pixels to store | Often the largest single reduction |
| 2. Re-encode the PNG (lossless optimization) | Same pixels, tighter storage | Usually 10–40% on graphics, less on photos |
| 3. Change format (JPG or WebP) | Lossy encoding of the same image | 3–10× smaller on photographs |
Lever 1 — dimensions first. A 3000-pixel-wide PNG displayed at 800 pixels wide is carrying three times more data than the page shows. If the image will never be viewed larger than its display size, resizing is the single biggest size reduction available, and it costs nothing visually.
Lever 2 — the lossless re-encode. This is what an image compressor's PNG path actually does: the encoder works harder to find redundancy in the pixel data and rewrites the file. The pixels come out bit-identical — quality loss is not possible. The trade-off is effort, not quality: higher effort takes a little longer and finds slightly more savings. And there is a floor: if the encoder cannot make the file smaller, it returns the original file unchanged. For a photograph stored as PNG, that floor is close to zero — nothing is lost, but almost nothing is saved.
Lever 3 — the format switch. When the image does not need transparency and does not rely on sharp line work, the PNG is the wrong container. The same photograph as a medium-quality JPG or WebP is typically a few hundred kilobytes instead of several megabytes, and looks identical at any on-screen size.
Which path for which image
| Image | Does it need PNG? | Path |
|---|---|---|
| Product cutout on a transparent background | Yes — alpha channel | Keep PNG, re-encode |
| Logo, icon, flat-color graphic | No — but PNG is natural | Keep PNG, re-encode |
| Screenshot with small text | No — but PNG stays crisper | Keep PNG, re-encode |
| Photograph saved as PNG | No | Convert to JPG or WebP, then compress |
| Photo with sharp UI or text overlay | Depends | Keep PNG if the edges must stay crisp; otherwise JPG |
The decision is one question: does this image use transparency, or does it rely on crisp edges and text? If yes, stay in PNG and use levers 1 and 2. If no, lever 3 is almost always the answer.
A workflow for getting a PNG under a size limit
- Check the image's job. Transparency or line art? You stay in PNG. A plain photo? Plan the format switch.
- Resize to display size if the file will be viewed on screen at a known width. This is where most of the size goes.
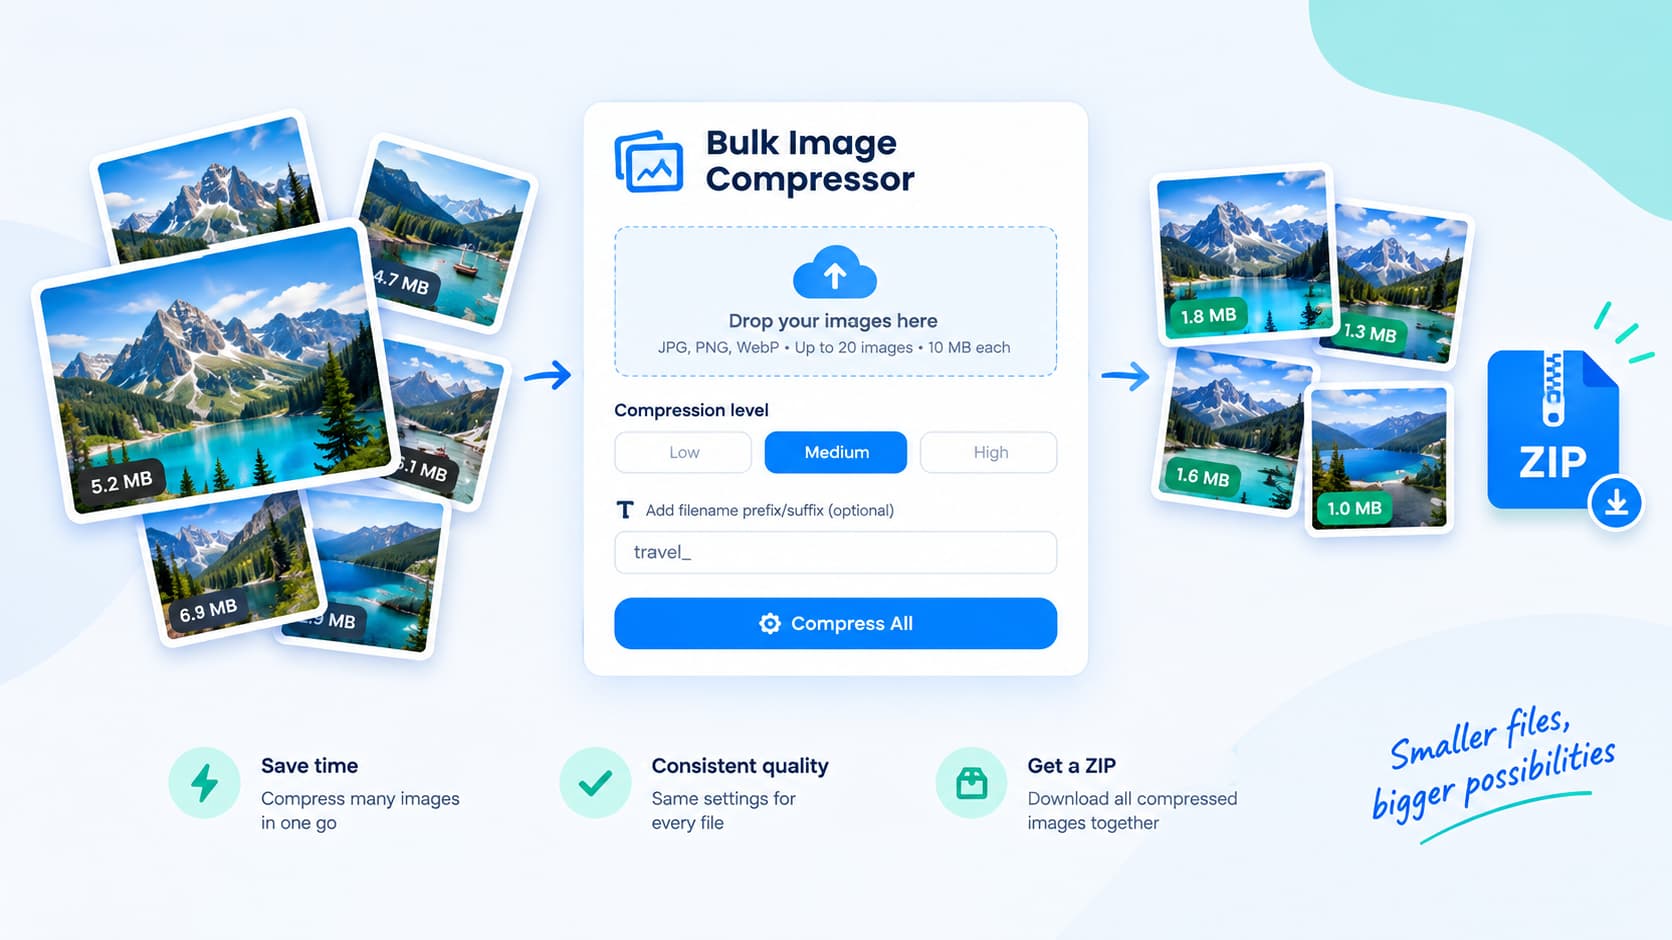
- Compress in one pass. Upload the set to a free bulk image compressor — up to 20 JPG, PNG, or WebP files, each up to 10 MB — pick a compression level, add a rename prefix if the files will be filed, and download the results as one ZIP.
- Check that the file actually shrank. With PNG, the output is either smaller or identical to the input — never in between, never worse. If a photo-PNG came back at almost the same size, that is the format telling you the truth: convert it.
- If you converted, verify at 100% zoom. JPG and WebP are lossy, so the usual rule applies — compare edges, faces, and text before publishing.
For the photograph case the order matters: convert first, then compress. Compressing a 5 MB photo-PNG with a lossless pass saves a rounding error; converting it to a medium-quality JPG gets you to a few hundred kilobytes, and a follow-up compression pass settles the rest. Our image converter handles the format change in the browser.
Common PNG size problems, solved
- "My PNG got bigger after I tried to compress it." The encoder only returns a file when it is smaller, so this usually means the tool returned your original — a photo stored as PNG has almost no lossless headroom. The fix is not a stronger lossless pass; it is converting the format.
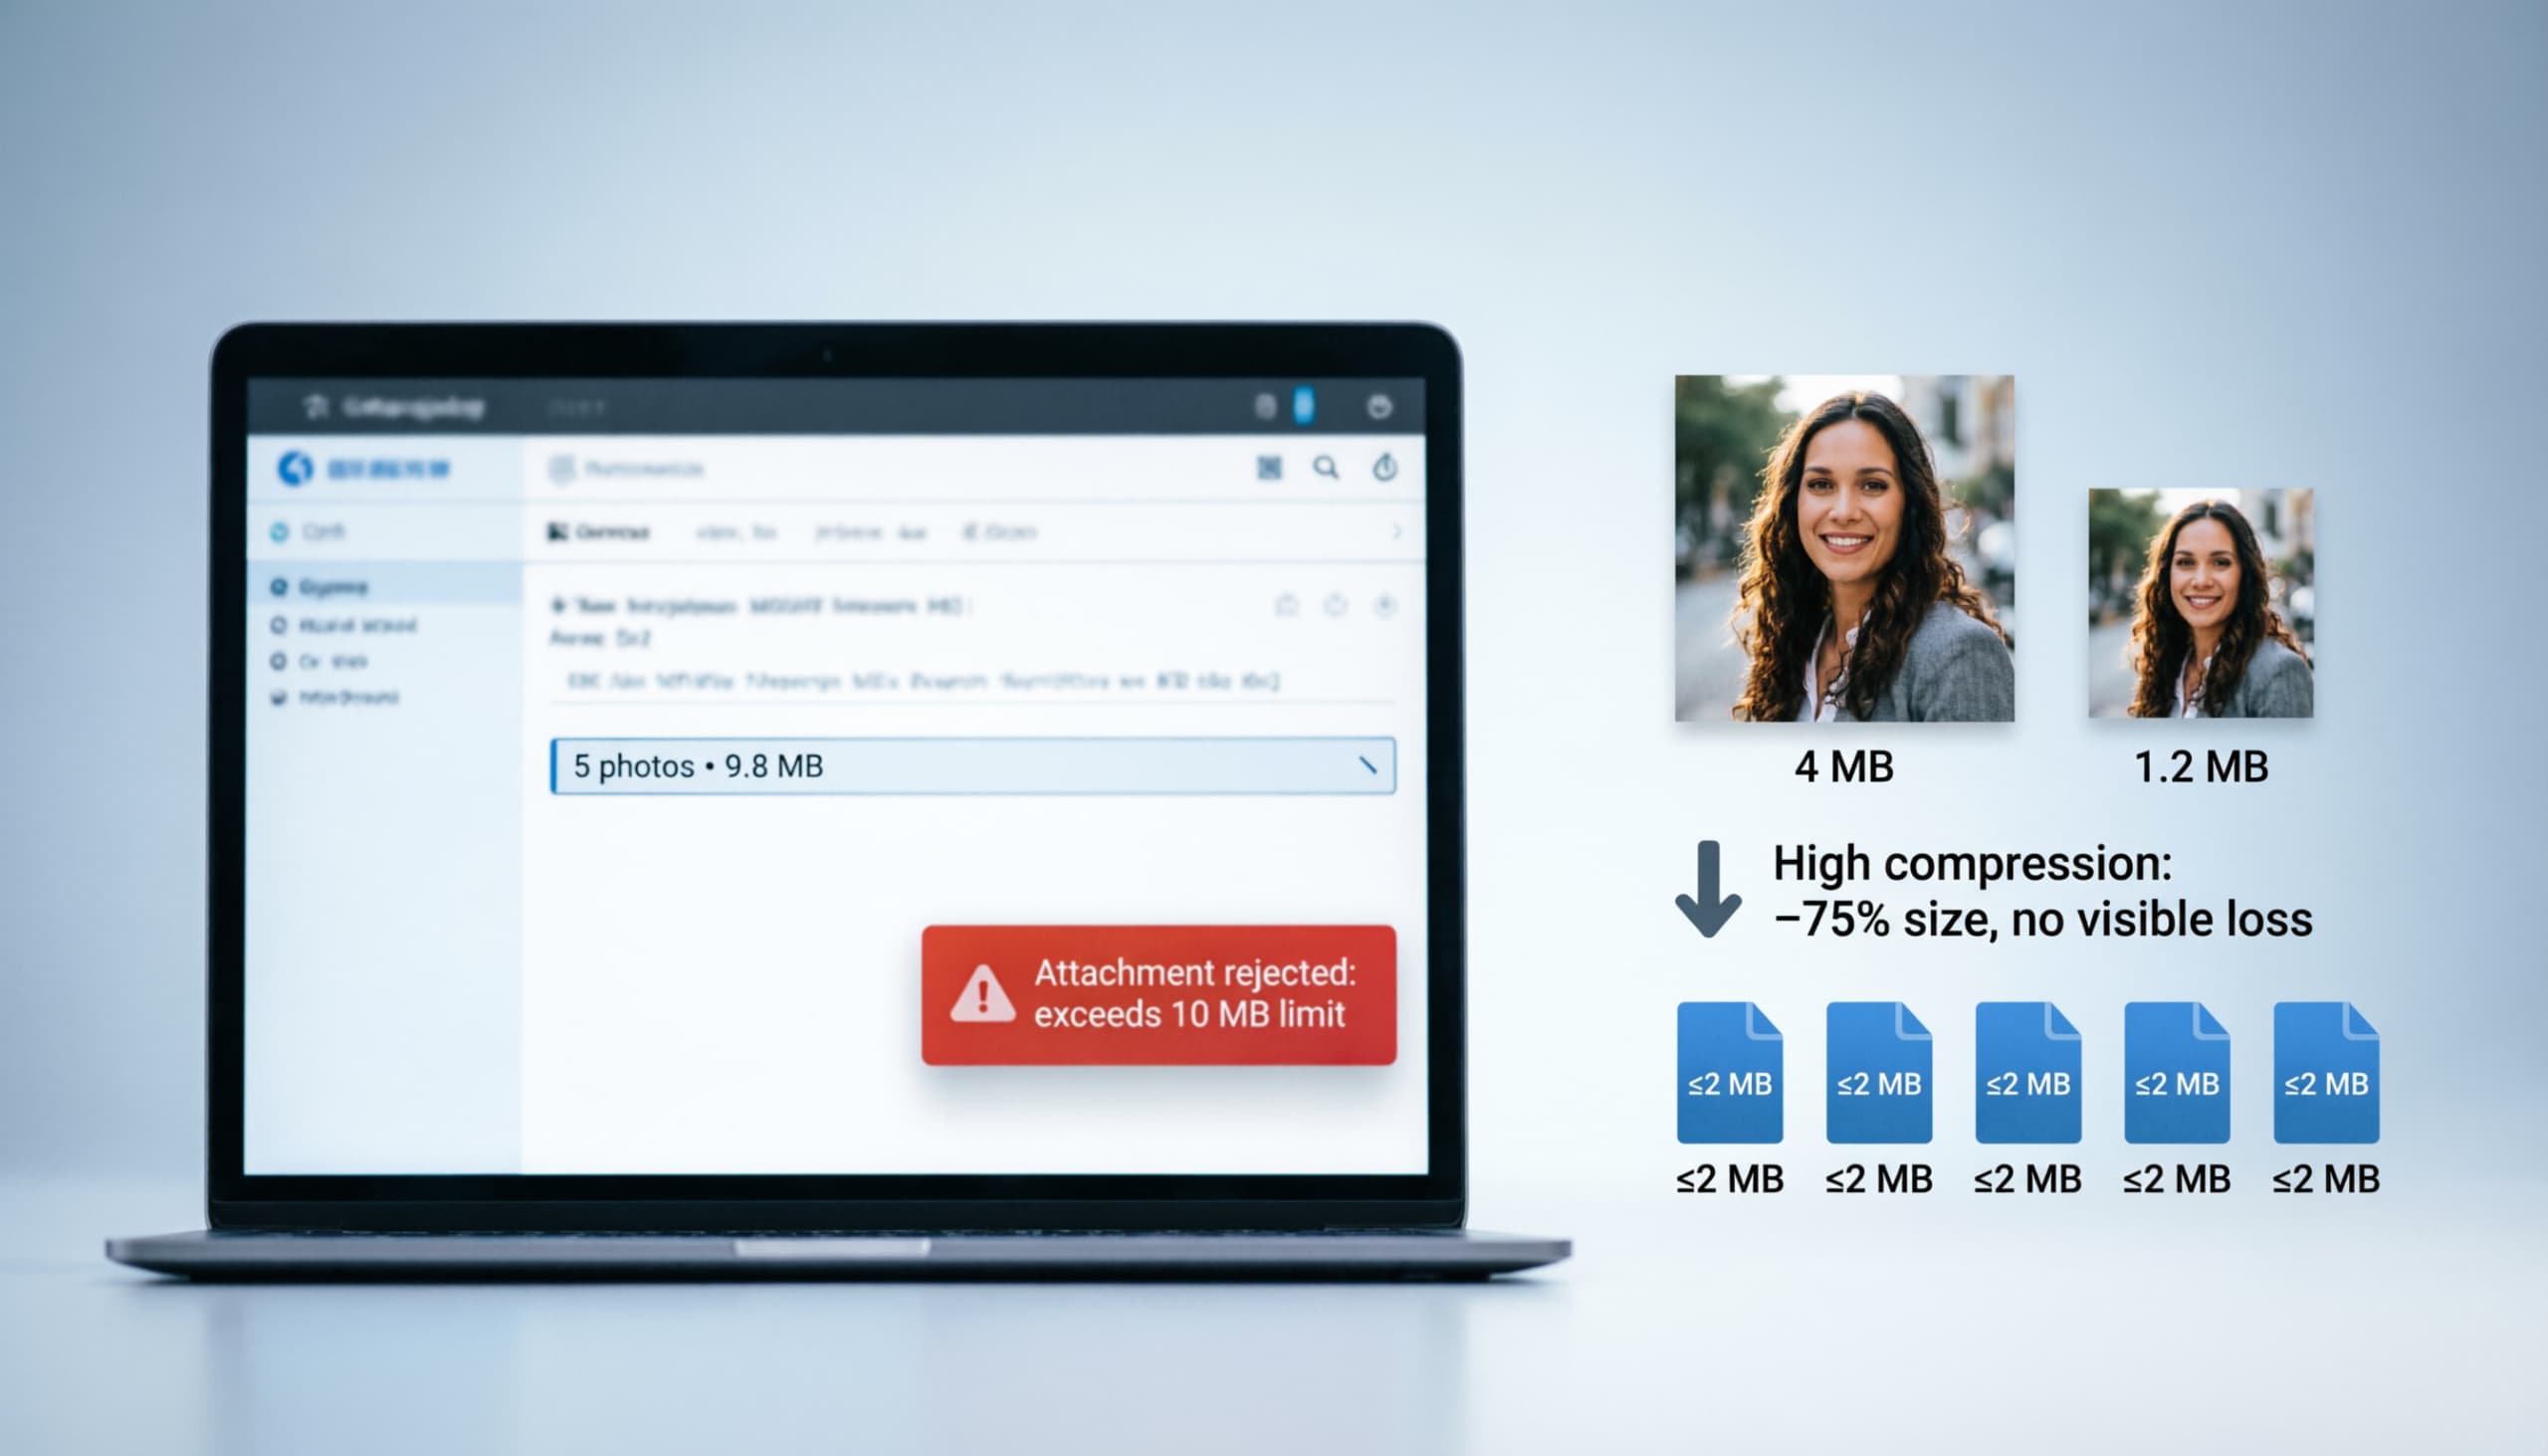
- "An upload form rejected my PNG — it has to be under 2 MB." Resize to the form's expected display size, run the lossless pass, and if the image is a plain photo and it is still over, convert to JPG or WebP.
- "The PNG looks blurry compared to the original." A correctly compressed PNG cannot look different — the pixels are identical. A blurry result means the file was saved as JPG or WebP at some step, and that quality setting was too aggressive.
- "I need the transparency back." It is gone only if the image passed through a JPG. Keep the transparent master as a PNG and deliver compressed copies from it.
Related reading: the general format, quality, and dimension decisions are in how to compress images, the full JPG/PNG trade-off is mapped in JPG vs PNG, and stores that deal in transparent product cutouts have their own workflow in compressing product photos for your online store.
Bottom line
Compressing a PNG is not a quality trade — it is a data problem. Resize to the size the image will actually be viewed, let a lossless pass tighten the file, and keep PNG only where transparency or crisp edges justify it. When the image is really a photograph wearing a PNG costume, the fix is not a stronger compressor — it is a format.