How to Compress Product Photos for Your Online Store
A product page is the page your store is built around, and product images are usually its heaviest payload. A category grid of twelve images at two megabytes each is a 24-megabyte page before the CSS — and a visitor comparing three products downloads that weight three times over. Product image compression is not a nice-to-have; it is the difference between a store that feels instant and one that feels like it is loading.
This guide covers the target sizes product images actually need, the format decision that trips up most catalogs, and a batch workflow for getting a whole catalog consistent.
What a product image needs to be
Product images are viewed at two sizes, and both matter:
- Card size — listing grids, search results, and category pages, where the image is a few hundred pixels wide.
- Zoom size — the product page, where hovering (or tapping) shows the image at roughly 100–200% of its display width.
That means a product image needs enough resolution to survive the zoom, but it does not need print resolution. A long edge of 1500–2000 pixels is the working range for most storefronts: plenty for a clean zoom, and far below the 4000-pixel files a camera or a stock library will hand you.
A useful target table:
| Where the image is used | Long edge | Target file size |
|---|---|---|
| Listing / category grid | 800–1200 px | 30–100 KB |
| Product page main image (with zoom) | 1500–2000 px | 150–400 KB |
| Lookbook / lifestyle / hero banners | 2000 px | 200–500 KB |
| Thumbnails, icons, badges | 200–400 px | 5–30 KB |
The last column is what compression buys you; the middle column is what your layout actually shows. Setting both is the job — a 2-megabyte "compressed" file shown at 800 pixels is still a slow file.
The format decision: JPG by default, PNG only for cutouts
Most catalogs over-use PNG. The rule is simple:
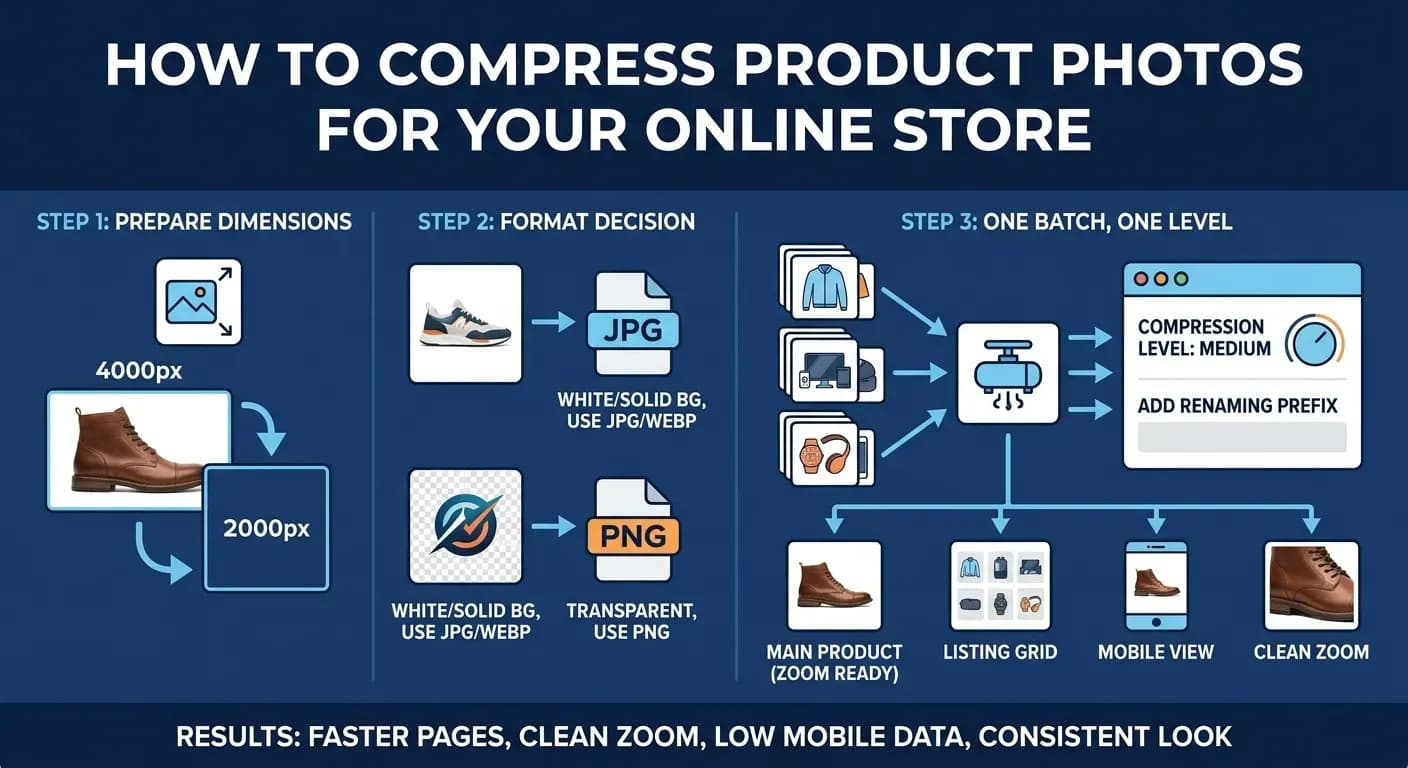
- White or flat-color background product shots — the large majority of a catalog — compress cleanly as JPG (or WebP where your platform serves it). Opaque white background is exactly the kind of data JPG handles well.
- True transparency — product cutouts that sit on variable backgrounds, badges layered over photos — is the one case that genuinely needs PNG, because JPG cannot store an alpha channel.
- Photographs saved as PNG are a mistake you can see in the file size: several megabytes where a few hundred kilobytes would do. If a product photo is a PNG and nothing about it is transparent, it is a JPG that has not converted itself yet.
Keep the originals in whatever format the shoot produced. What your store serves is the working copy: one dimension set, one format rule, one compression level. For the full breakdown of when a PNG earns its file size, see compressing a PNG without losing quality.
The catalog workflow: one batch, one level
A catalog is a set, so compress it like a set — one pass over many files instead of one file at a time:
- Prepare the dimensions. Resize the shoot to your dimension set — main images to a 2000-pixel long edge, grid thumbnails to whatever your layout shows. This is the step that removes most of the size; a compressor tightens the file, it does not change dimensions, so do this in your editor or your shoot pipeline.
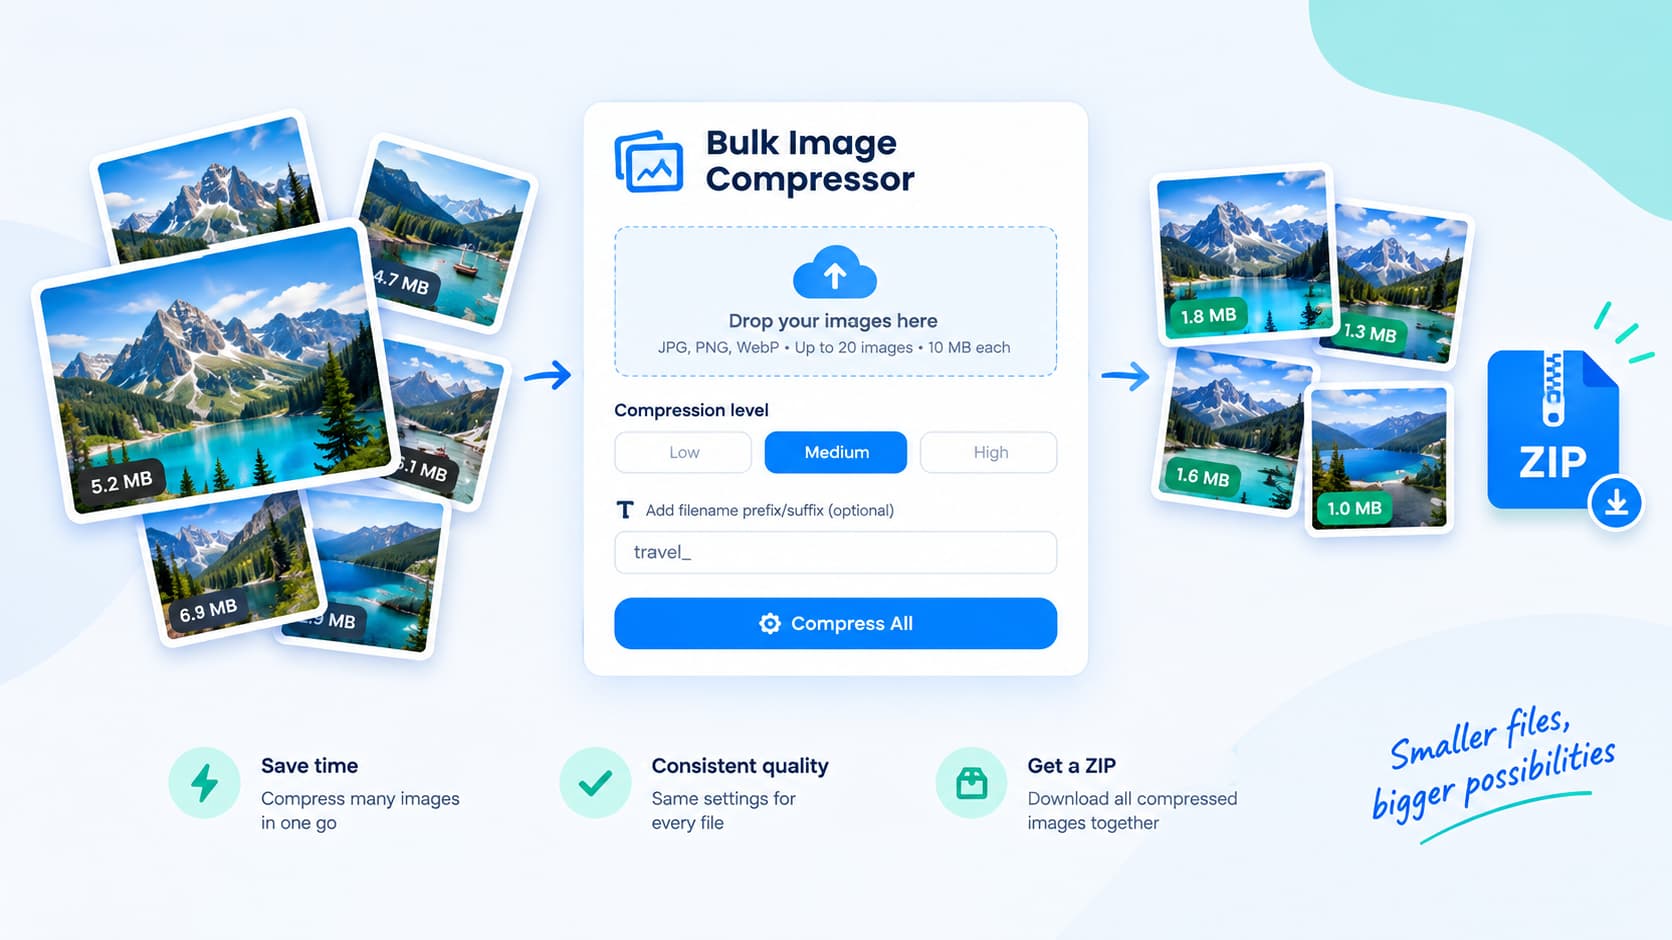
- Upload the batch to a free bulk image compressor — up to 20 JPG, PNG, or WebP files at once, each up to 10 MB.
- Pick one level for the batch. Medium compression is the right default for main product images: typically a 40–70% reduction with no visible change at card or zoom size. Step up to high for lookbook and lifestyle images, where the file is the hero.
- Name the set as you go. Add a prefix or suffix per batch — collection name, season, shoot date — so the compressed files slot straight into your media library without a rename session.
- Spot-check two images at zoom size, then upload the batch to your CMS. Keep the originals in an archive; the store serves the compressed copies.
A catalog of hundreds of images is just several batches: same dimension set, same level, same naming pattern. Consistency is the point, and a batch tool makes it free.
What this does for the store
- Faster product and category pages. Page weight on image-heavy pages is dominated by the images, so a 40–70% reduction across the catalog moves the pages your revenue actually happens on.
- A consistent zoom experience. One dimension set and one level mean every product zooms the same way — no soft 800-pixel image next to a sharp 3000-pixel one from a different shoot.
- Lower mobile cost. Shopping traffic is heavily mobile, and every kilobyte saved is saved on every view of every product, on data connections.
- Cleaner files. Compression passes strip EXIF and GPS metadata, so product photos stop shipping camera serials and shoot locations with them.
Common product image problems, solved
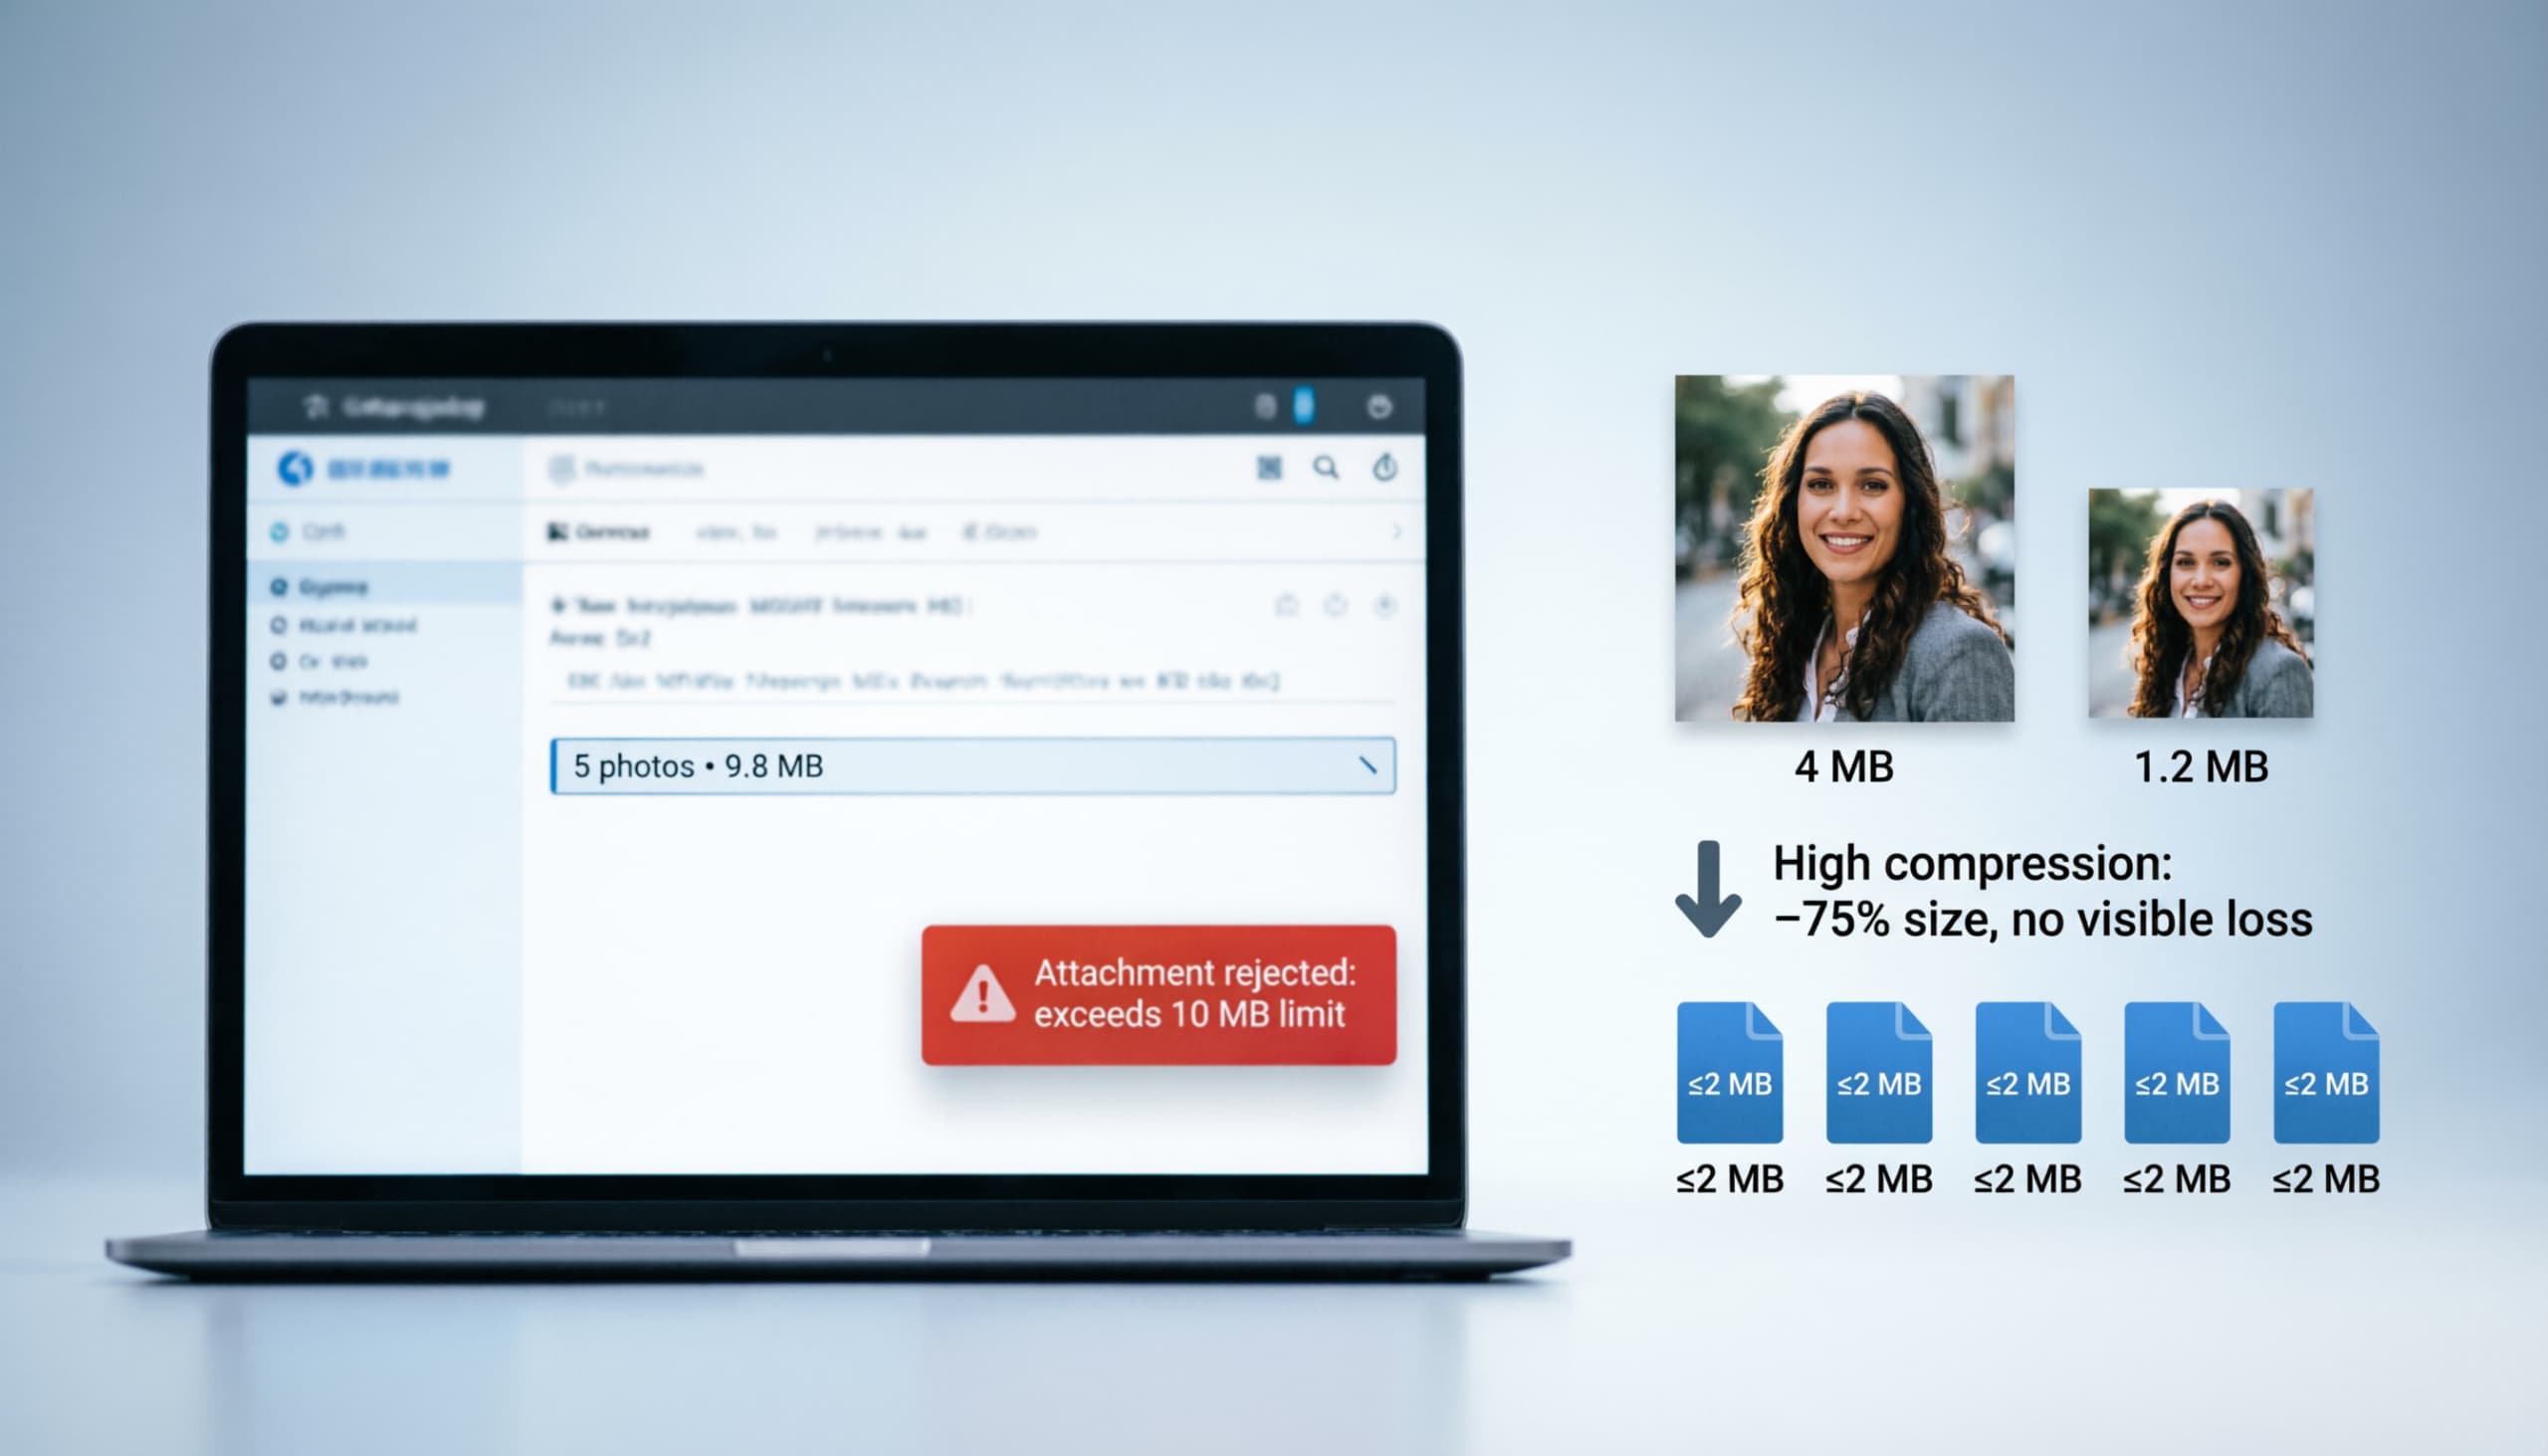
- "The CMS upload is slow or rejects big files." Importers choke on multi-megabyte sources. Batch the shoot to under 1 MB per image and the upload becomes boring, which is the goal.
- "Photos look soft when customers hover." The zoom target was missed — either the file is under-resolution or it was compressed below the level that survives 150% zoom. Raise the main image to a 2000-pixel long edge at medium level.
- "The catalog looks inconsistent." It is a shoot-by-shoot mismatch: different dimensions, different levels. Re-batch the catalog with one dimension set and one level.
- "I need a transparent background for this product." That is the PNG case — and the same workflow applies, with the one format exception. The PNG-specific size decisions are in compressing a PNG without losing quality.
Related reading: the general batch mechanics — levels, limits, and the ZIP workflow — are in the bulk image compressor guide, the page-speed case for the whole site (not just the catalog) is in compressing images for your website, and the format fundamentals are in how to compress images.
Bottom line
Product image compression is a consistency problem with a speed payoff: a dimension set per image role, JPG for everything that is not genuinely transparent, one compression level per batch, and the originals kept out of the store. Done that way, the catalog loads fast, zooms clean, and every product looks like it was shot on the same day.