Images are usually the heaviest part of a web page, and they are also one of the most common reasons pages load slowly. Compressing your site's images is one of the few web optimizations where the effort is small and the effect on page weight, perceived speed, and search performance is direct. This guide covers why it matters, how much to compress, and a workflow you can apply to your whole site image set at once.
Why image size affects search performance
Search engines evaluate how fast a page delivers its content, and images are often the dominant payload on content and product pages.
- Page speed signals. Core Web Vitals — especially Largest Contentful Paint, which frequently lands on an image — measure how quickly a page becomes visually complete. Heavy images delay the main content from appearing.
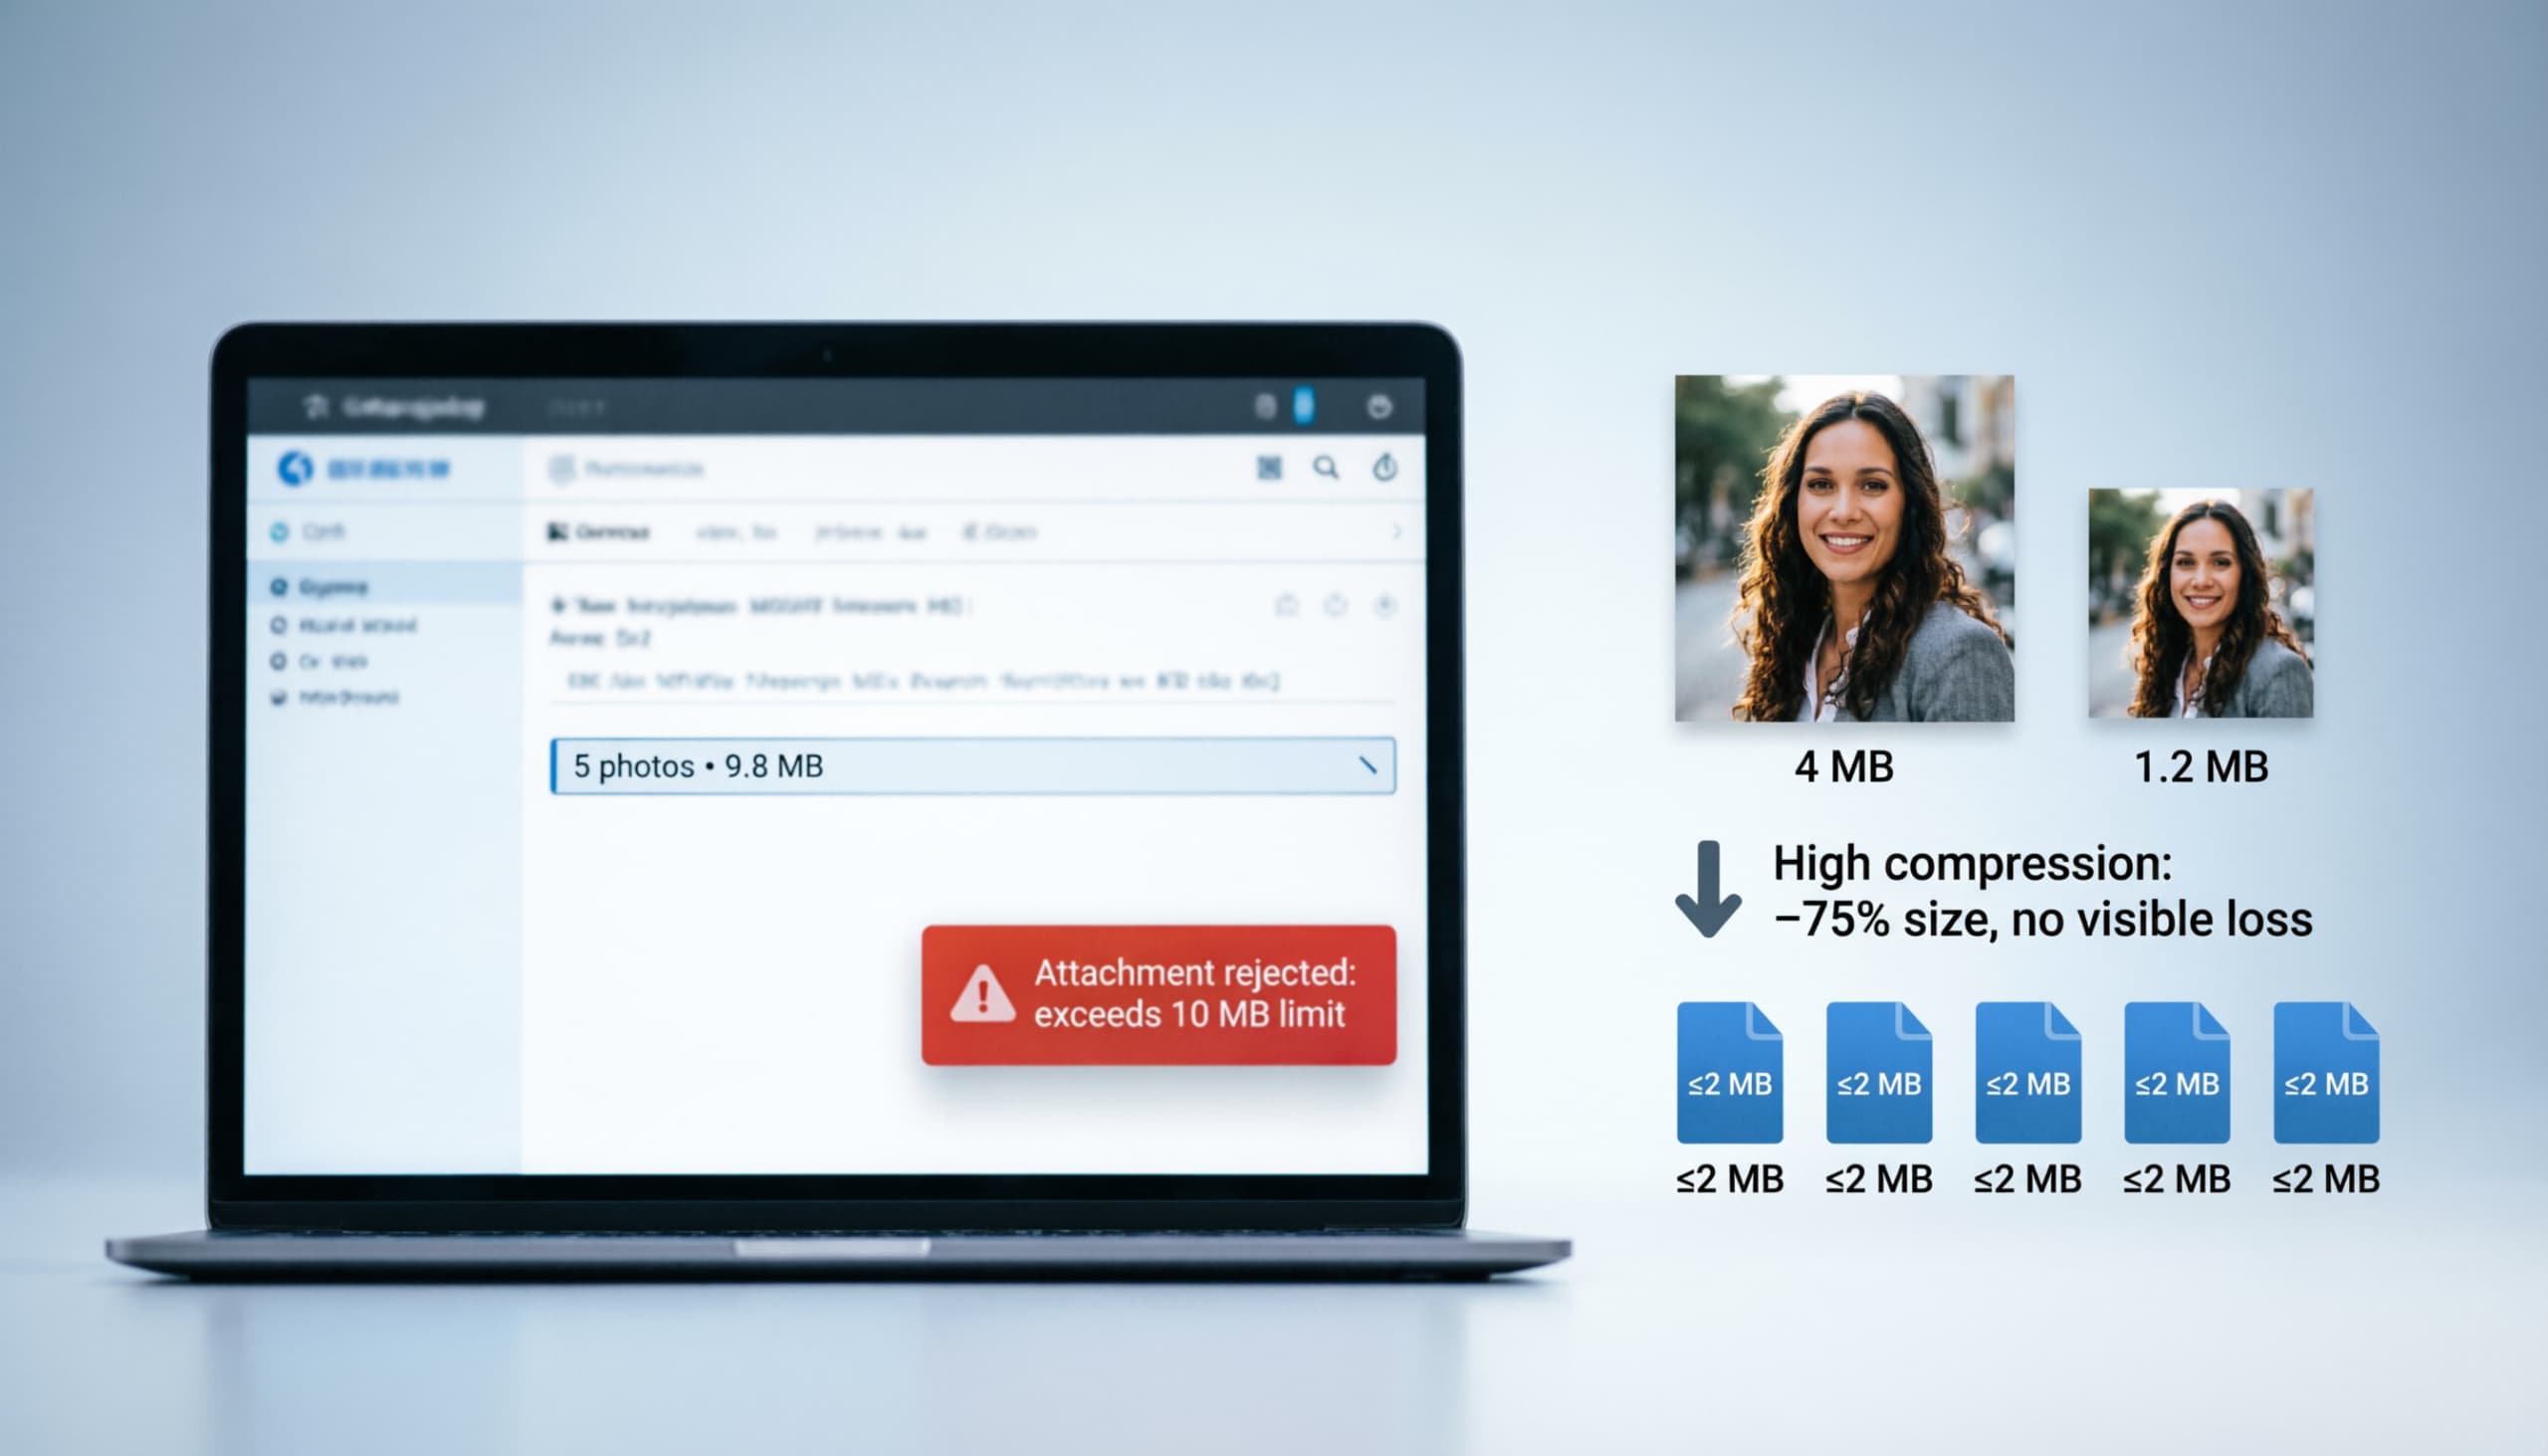
- Bandwidth and mobile. Most traffic is mobile, and a 4 MB hero image on a 4G connection is a multi-second delay before a visitor sees anything.
- Crawl efficiency. Lighter pages transfer faster, which helps crawlers process more of your site with the same budget.
None of this means "compress as hard as possible." It means your images should be as small as they can be without looking worse at the size they are displayed. That is a very achievable bar.
How much should you compress images for the web?
A useful target range for website images:
| Image type | Typical original | Target after compression |
|---|---|---|
| Hero / header image | 1–4 MB | 150–400 KB |
| Blog post image | 1–3 MB | 100–300 KB |
| Product photo | 2–5 MB | 150–400 KB |
| Thumbnail / card image | 0.5–1.5 MB | 30–100 KB |
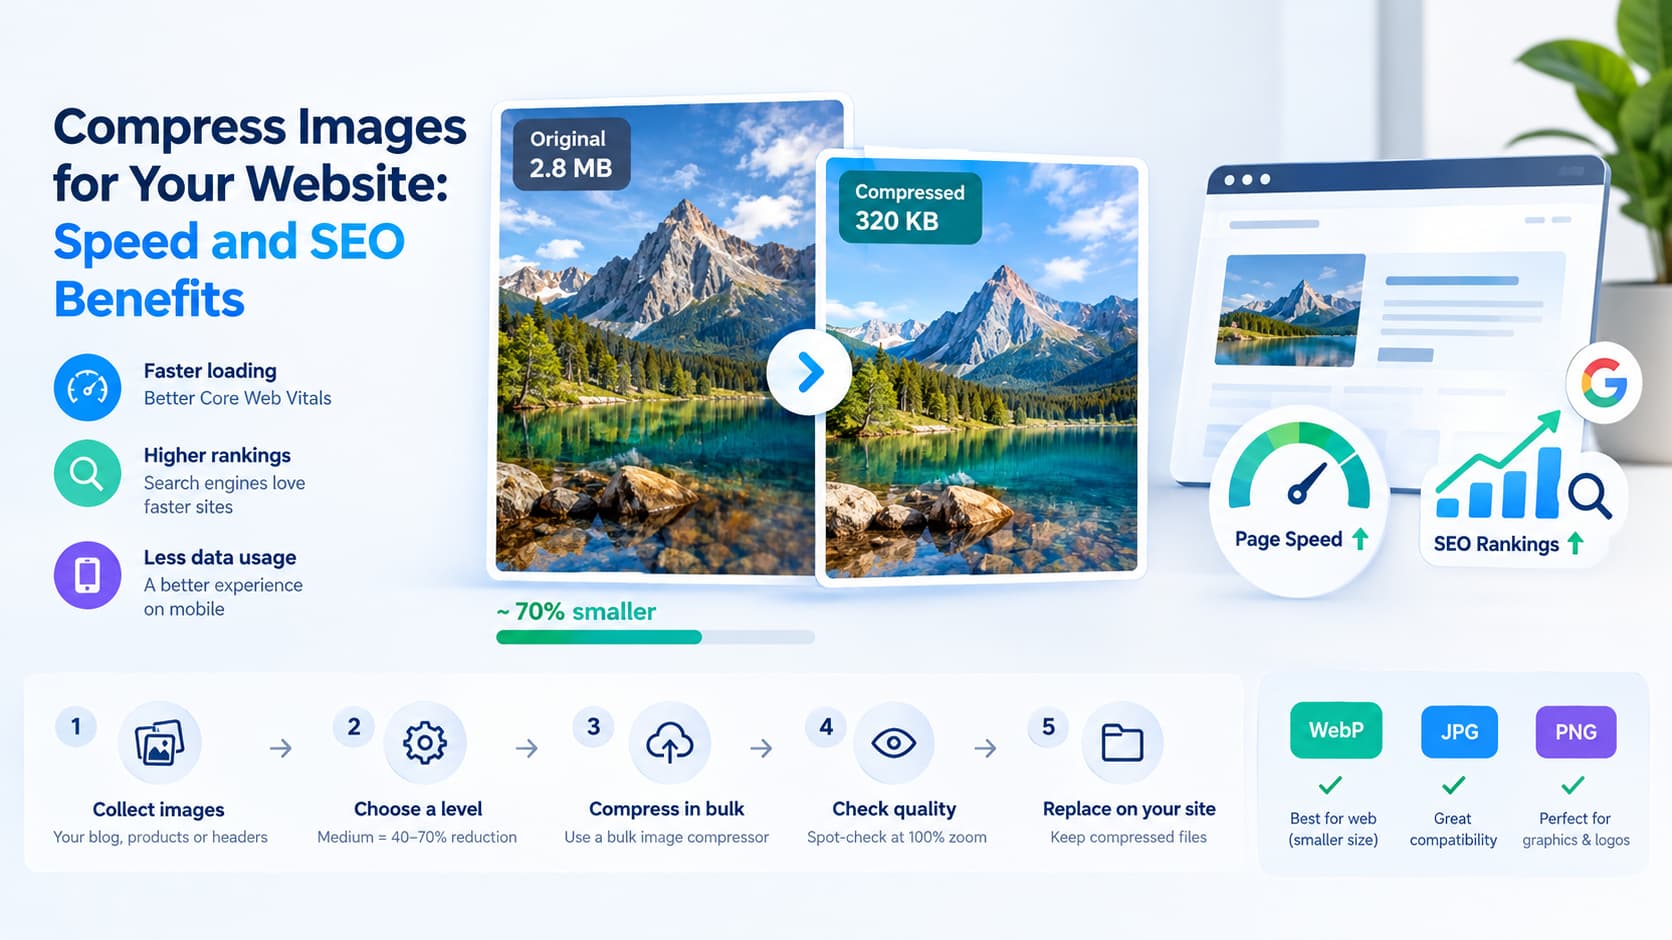
In relative terms, that is usually a 40–70% reduction from the original file at a medium compression level — enough to move page weight meaningfully, without a visible quality drop at card and content sizes.
Two rules keep you honest:
- Compare at 100% zoom after compressing — if you cannot spot a difference on edges, faces, and text, the level is safe.
- Do not re-compress repeatedly. Every JPG save discards a little more detail. Compress once, from the best source file you have.
Which format should your web images be?
- WebP is the strongest default for web delivery — it usually beats JPG at the same quality with a smaller file, and it supports transparency where needed.
- JPG remains the safe choice for photographs in maximum compatibility.
- PNG belongs to graphics, logos, screenshots, and anything with sharp edges or transparency; it compresses losslessly, so the visual result never changes.
If you are choosing between JPG and PNG for a specific asset type, our JPG vs PNG guide maps out the trade-offs.
A workflow to compress your site's images
Compressing a whole site's image set by hand is slow, so batch it:
- Collect the set. Export or gather the images you are about to publish — a blog post's graphics, a product shoot, a set of headers.
- Pick one level for the set. Medium compression is the right default for web use: typically a 40–70% reduction with no visible loss.
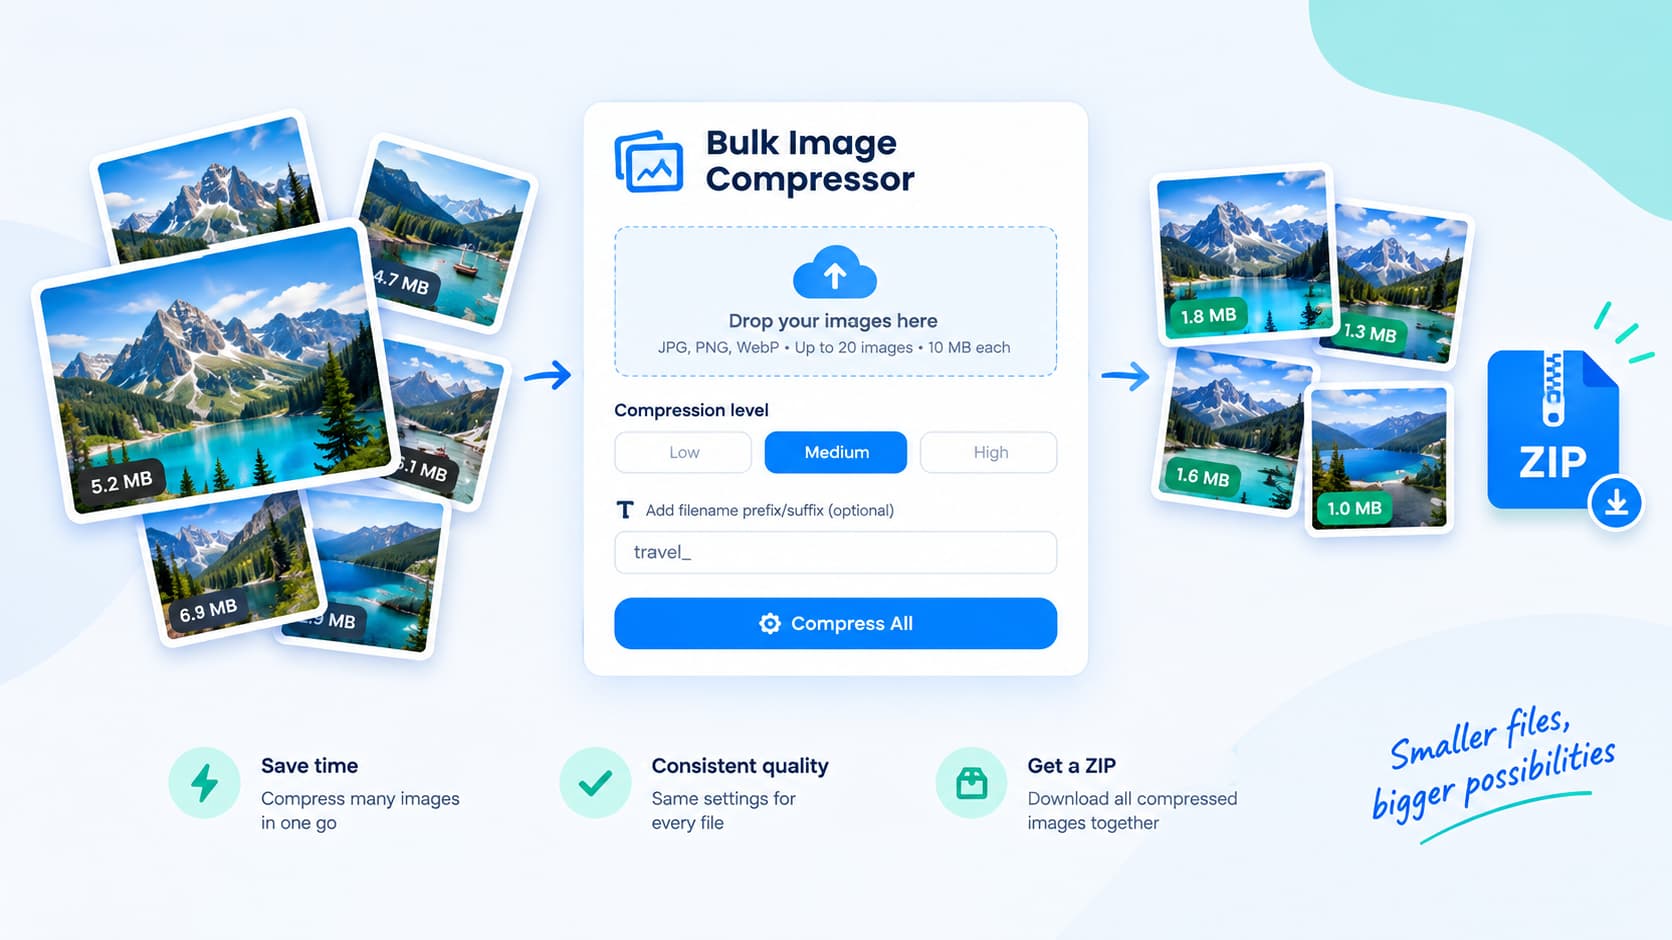
- Compress in one pass. Upload the batch to a free bulk image compressor — up to 20 JPG, PNG, or WebP files at once — and apply the same level and rename prefix to every file.
- Spot-check two results at 100% zoom, then publish the rest.
- Keep originals separate so the files on your server (and in your CMS media library) are the compressed copies, not the multi-megabyte sources.
The same logic works per page type: compress blog graphics for the blog, product photos for the store, and hero images for the headers — each as its own batch with one consistent level. For the product-photo specifics — target sizes and the zoom question — see compressing product photos for your online store.
What compression gives your site
- Faster perceived load. The first thing visitors see appears sooner, which is exactly what page-speed metrics measure.
- Lower data usage. Every kilobyte saved is saved on every visit, on every device.
- Consistency. A batch pass means every image in a post or product line was treated identically — no one 3 MB outlier slowing a whole page.
- Cleaner files. Compression passes typically strip EXIF/GPS metadata, so your public images carry camera serials and locations with them no longer.
Compressing one image vs compressing in bulk
If you are optimizing a single hero image, the same principles apply one file at a time — our guide on how to compress images walks through the format, quality, and dimension decisions. But as soon as you have a set of images that should be treated the same way, batching is the efficient path: one level, one naming pattern, one ZIP of results.
Bottom line
Compressing images for your website is not an aesthetic debate — it is a page-speed and search-performance decision. Aim for a 40–70% reduction at a medium level, keep WebP as your web default, and batch your image sets so the whole site gets treated consistently.