You convert a PDF to JPG, and the result looks soft, fuzzy, or pixelated — especially around the text. It is frustrating, because the same page looks crisp inside the PDF viewer. The good news: blurry PDF to JPG output is almost always fixable, and there are only three usual causes.
This guide covers each cause and the exact fix, so you get a sharp image the first time.
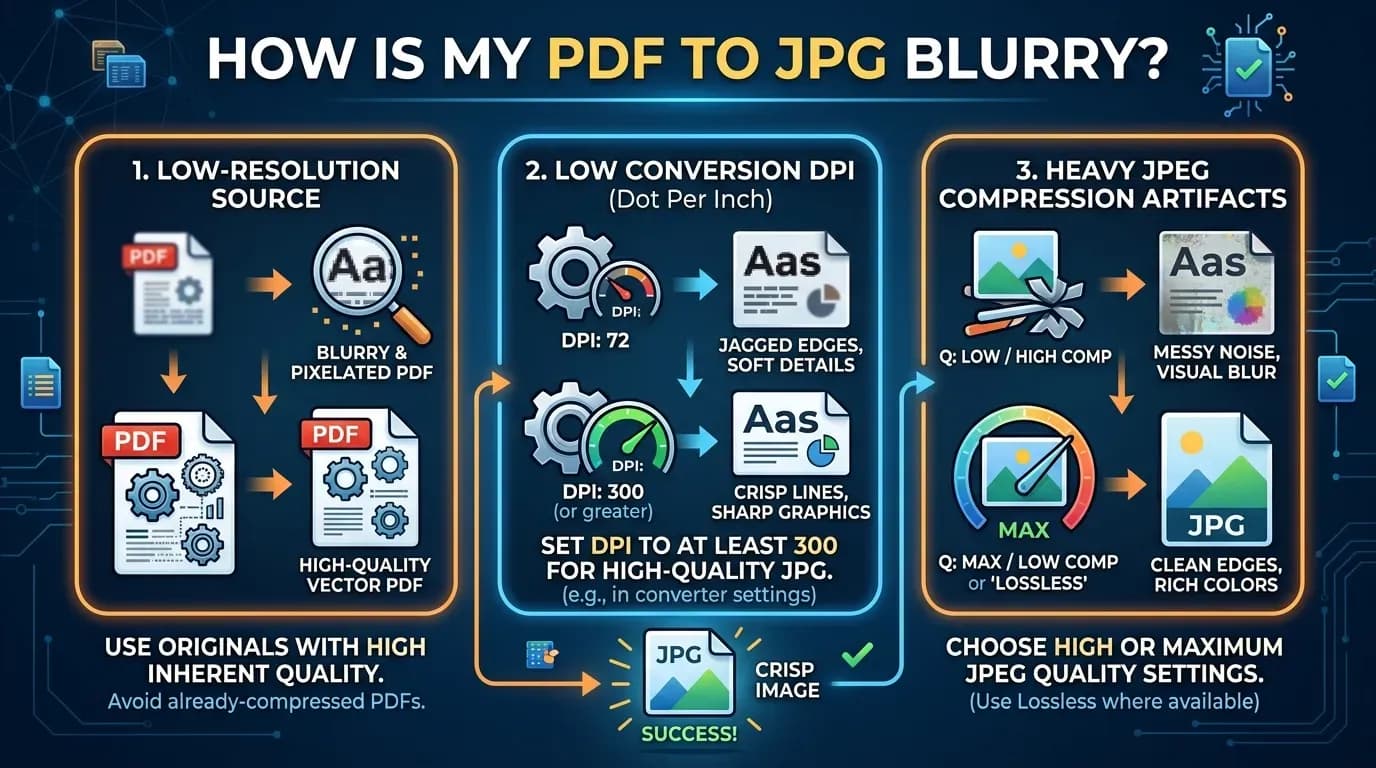
The three usual causes
| Cause | What you see | The fix |
|---|---|---|
| Low-resolution source PDF | Everything is soft, even at 100% | Get a better source or re-scan |
| DPI set too low | Fine in a thumbnail, pixelated when enlarged | Convert at 300 DPI |
| Heavy JPEG compression | Blocky halos around text and edges | Use a normal/high quality setting |
Work through them in this order — it is the fastest way to the answer.
Cause 1: the source PDF is already low-resolution
This is the most common cause, and the one people miss. A PDF is only as good as the document it was made from. If the original was:
- a scanned document at low quality,
- an image that was already pixelated before it became a PDF, or
- a page exported at a low resolution from another tool,
then the blur is already baked in. No converter can add detail that was never there — it can only render the pixels it has.
How to check: open the PDF in a viewer and zoom in far (500–1000%). If the text is soft at that zoom, the source is low-resolution, and the fix is upstream — re-scan the paper original, or export the document again at a higher quality.
The fix: get a higher-resolution source. If you have the original document (Word, PowerPoint, design file), re-export it as PDF at high quality and convert again.
Cause 2: the output DPI was too low
If the source is fine but your JPG looks pixelated when you enlarge it, the conversion resolution was too low. A 72 DPI export looks acceptable in a small thumbnail but falls apart the moment it is scaled up.
The fix: convert at 300 DPI. It is the standard resolution for both screen and print, and it is what quality online converters use by default. At 300 DPI a Letter page is about 2,550 by 3,300 pixels, which is more than enough for a sharp on-screen and printed result. Our DPI guide explains the 150/300/600 choices in detail.
When you convert at a consistent 300 DPI — as FileConv's PDF to JPG converter does — you remove this variable entirely.
Cause 3: JPEG compression was too aggressive
JPG is a lossy format. Push the quality setting too low and you get compression artifacts: blocky patches, fuzzy halos around text, and ringing near sharp edges. This is most visible on documents with lots of text and high-contrast lines.
The fix: use a normal or high JPEG quality setting rather than the smallest possible file. A converter that outputs a sensible quality at 300 DPI will keep text clean. If you are processing images further, avoid re-saving the same JPG many times — each save adds a little more degradation (a case for keeping a lossless master, covered in our JPG vs PNG guide).
A quick checklist for crisp results
- Check the source. Zoom to 500%+ in the PDF viewer. Soft there? Fix the source first.
- Convert at 300 DPI. The right default for screen and print.
- Use a normal/high quality setting. Do not chase the tiniest file at the cost of text.
- Verify at 100% zoom. Compare edges and text before you use the image.
Getting print-ready output
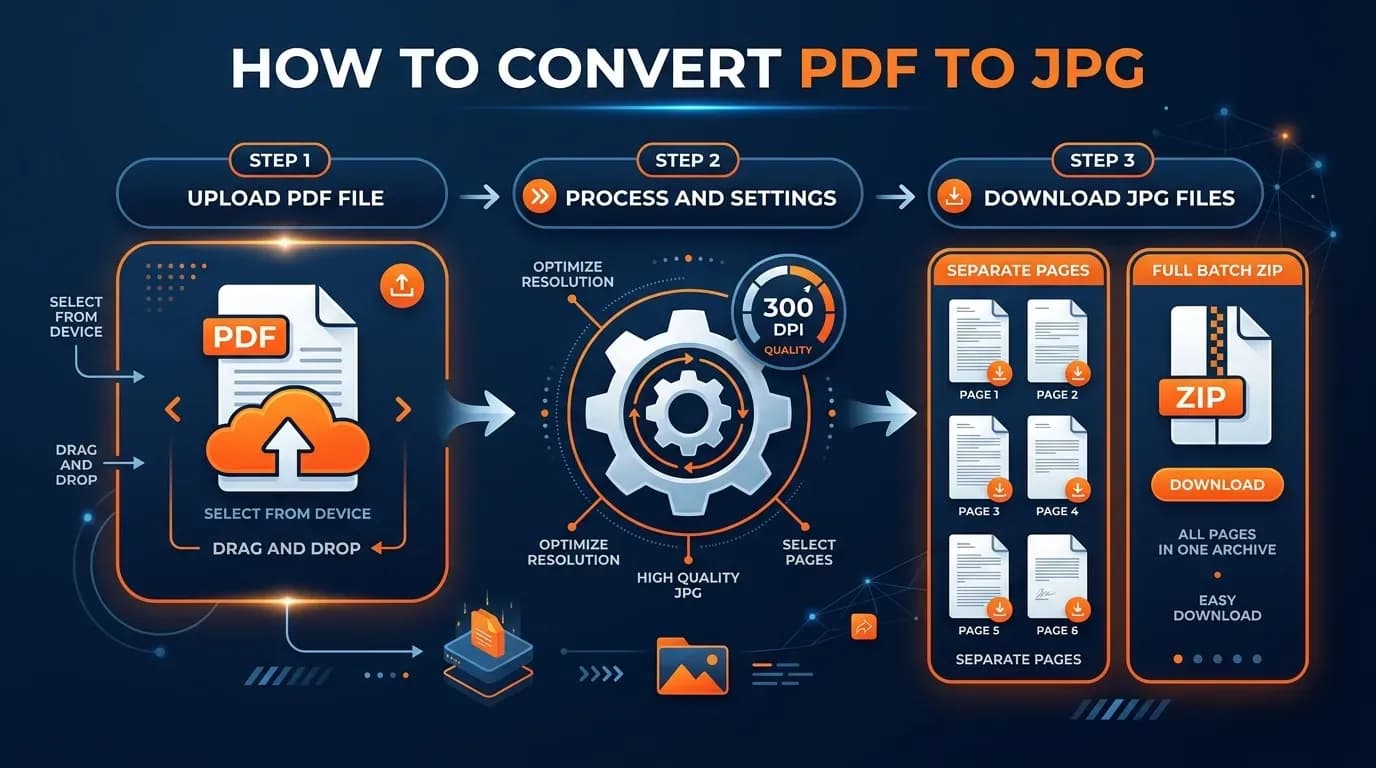
If the end goal is printing, the target is a 300 DPI JPG at the size you will print. Upload your PDF to a free PDF to JPG converter, let it render at 300 DPI, and the result is ready for most print services, posters, and photo orders.
FAQ
Why is my PDF to JPG blurry?
Most often the source PDF is low-resolution, or the conversion DPI was set too low. Raising the output to 300 DPI fixes the DPI cases; the source case needs a better original.
Can I sharpen a low-resolution PDF?
Not with a converter — detail that was never captured cannot be invented. Re-scan the document or re-export it at higher quality.
What DPI should I use to avoid blur?
300 DPI. It is sharp for screen and standard printing and is the default of quality converters.
Bottom line
Blurry PDF to JPG output has three fixes in order: check the source, convert at 300 DPI, and keep the quality setting sane. If the source is good, a 300 DPI conversion — exactly what you get from a free PDF to JPG converter — gives you a crisp image for screen and print.