"Compress images" and "lose quality" are usually mentioned together, but they do not have to be. Most visible quality loss in batch compression comes from two mistakes: a compression level that is too aggressive, and re-compressing files that were already compressed. Get those two right and a batch of images can shrink by 40–70% while still looking identical at the size your visitors actually see.
This guide covers the specific settings and habits that let you compress multiple images without losing quality — whether you are doing it one file at a time or in a full bulk image compression session.
What actually causes visible quality loss?
Three things, in order of impact:
- An aggressive quality setting. Lowering a JPG or WebP below the level where artifacts stay invisible is the number-one cause of muddy photos, blocky edges, and banding in smooth areas like skies and skin.
- Repeated compression. Every time a JPG is re-saved at quality, a little more detail is permanently discarded. A photo that has been through several apps, inboxes, or resizes will look worse no matter what you do to it.
- The wrong format for the content. Compressing a detailed photograph as PNG does not help much; converting a flat graphic to a low-quality JPG ruins its edges.
None of these are about "compression is bad." They are about which files you start from and which settings you apply.
The settings that keep quality high
1. Start at the middle, not at the minimum
For JPG and WebP, quality is a dial, and the useful range is roughly the middle. In practice:
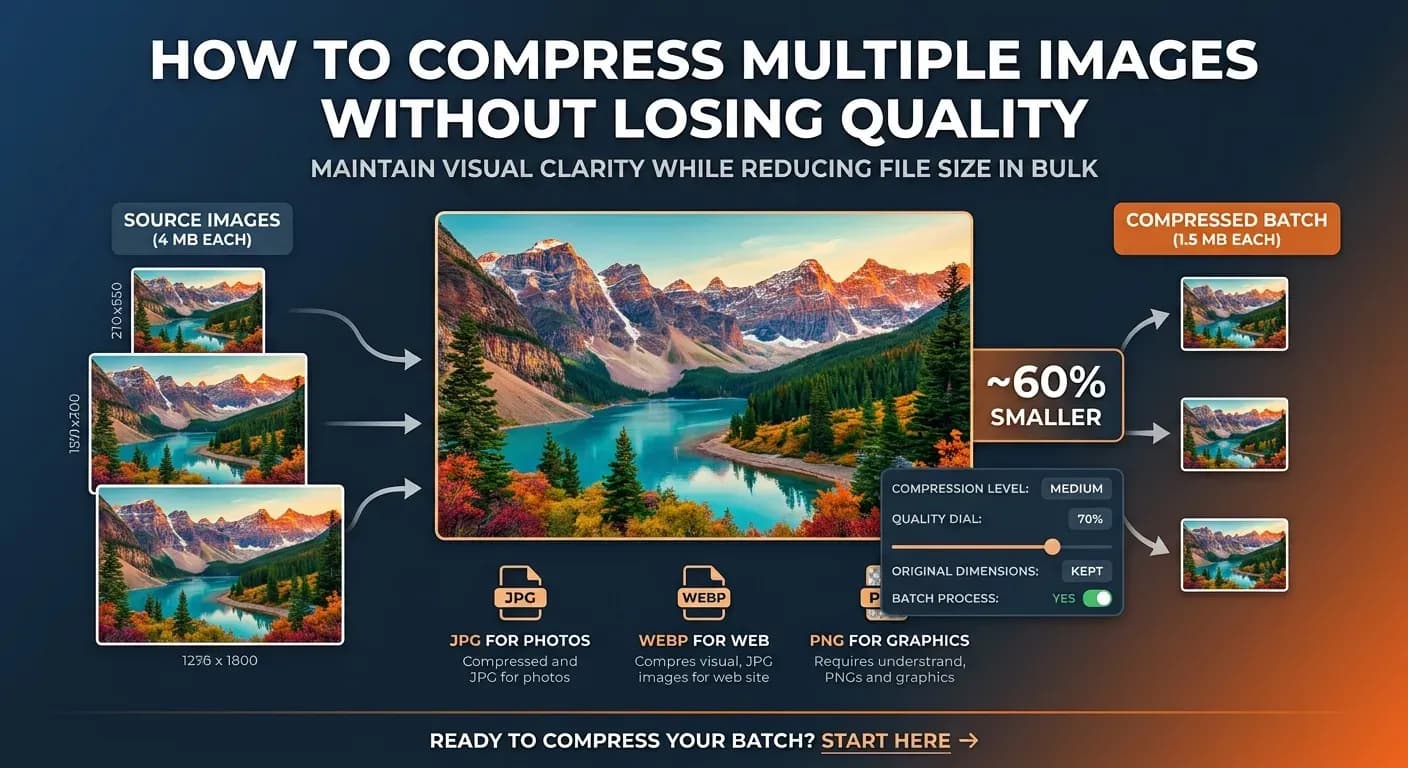
- Medium is the sweet spot for web use — typically a 40–70% reduction with no visible loss at normal viewing sizes.
- Low compression (high quality) preserves detail for photos you may crop, retouch, or print later.
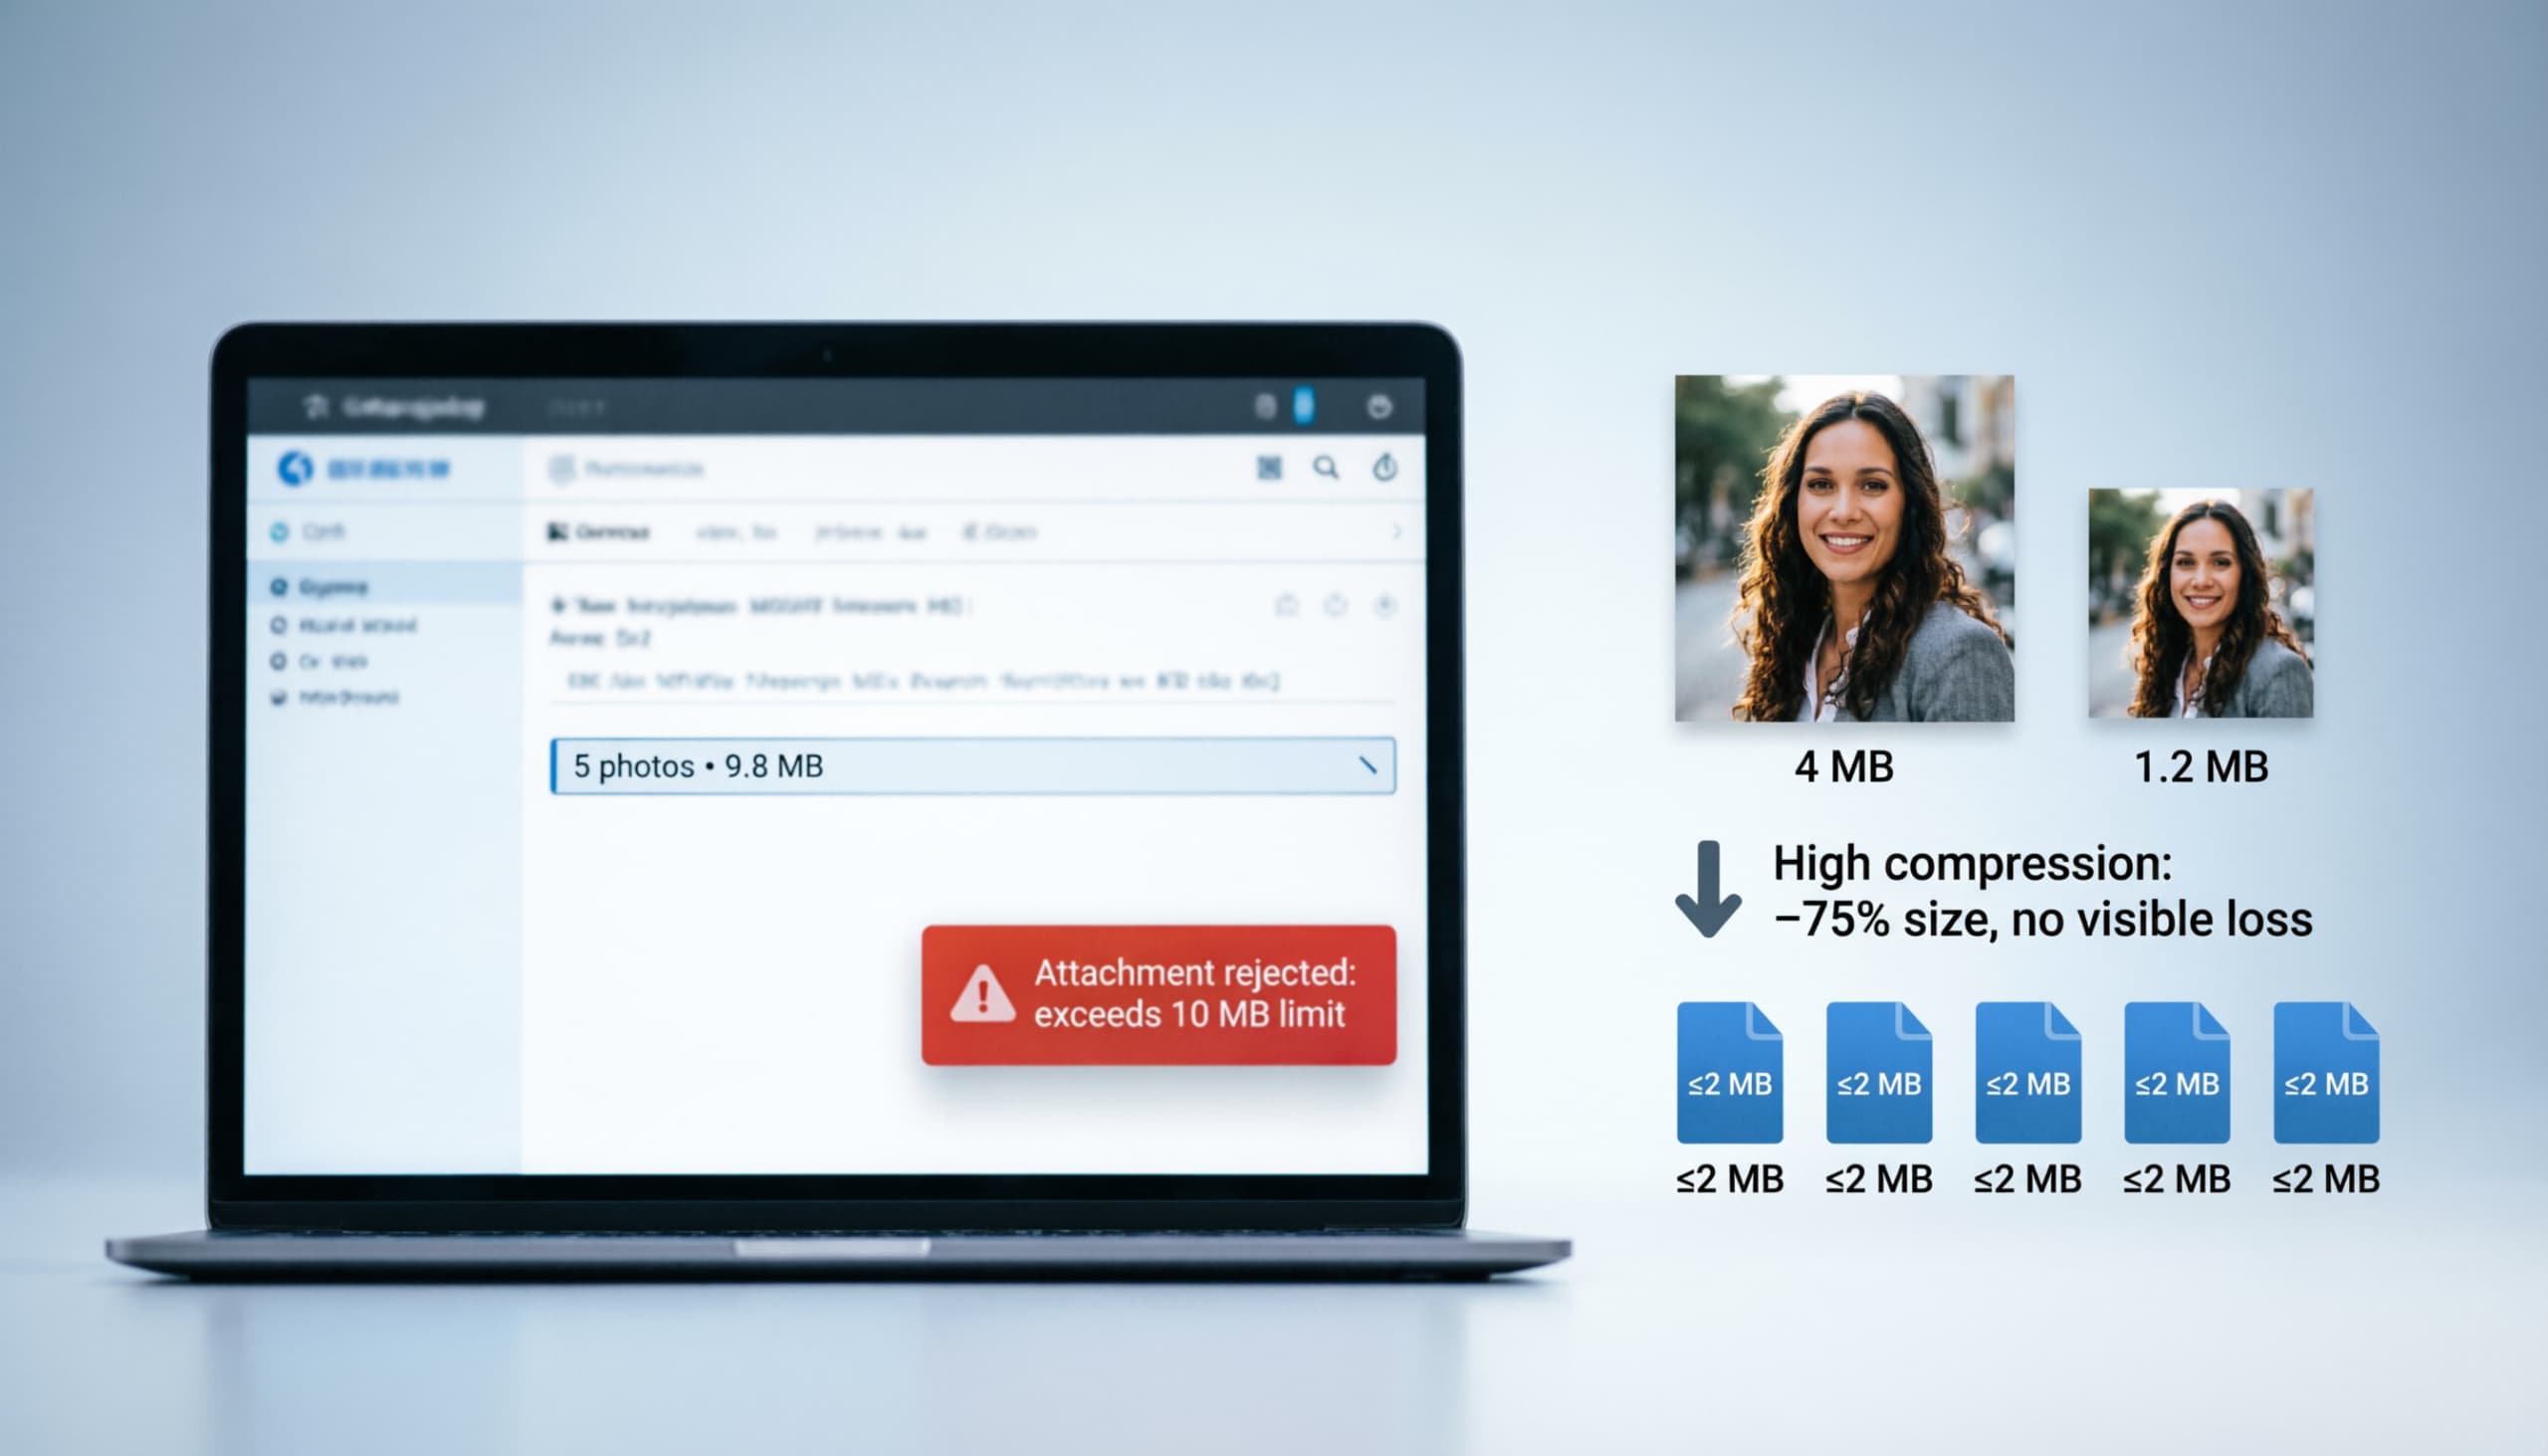
- High compression (small files) is for thumbnails, email attachments, and other cases where size matters more than fine detail.
A practical test: compress one image from your batch, open the result at 100% zoom, and look at edges, faces, text, and smooth gradients. If you cannot spot a difference, the level is safe for the whole set.
2. Keep the original dimensions (or only trim a little)
File size scales with pixel count. If you do not need the full 4,000-pixel width of a smartphone photo, delivering a resized copy is a bigger quality-safe win than any quality dial. But if you do keep the original resolution — which a good compressor does by default — you are not throwing away detail you might want.
3. Compress once, from the best source you have
Work from the highest-quality file available: the original export from your camera or editor, not a copy that has already been compressed. If your only source is already a compressed JPG, expect to get more reduction from resizing than from quality.
4. Match the format to the content
- JPG for photographs — quality-based lossy compression that photographs tolerate well.
- WebP for web delivery — usually smaller than JPG at the same quality.
- PNG for graphics, logos, screenshots, and anything with transparency. PNG is compressed losslessly, so its visual quality never changes — you only lose file-size bloat from redundant data.
If you are unsure which format a given file should be, our JPG vs PNG comparison breaks down the trade-offs.
How much reduction is safe?
A realistic expectation for photographs compressed at a medium level:
Original photo:        4 MB
Medium compression:    1.5–2.5 MB
Reduction:             ~40–60%
Visible quality loss:  none at normal viewing sizes
PNG graphics and screenshots often drop 10–40% losslessly. Anything promising a fixed "80% smaller" number for every image is selling you the setting, not the result — safe reduction depends on the source file.
A quality-safe workflow for a batch of images
- Group by purpose. Product photos, blog headers, and email attachments may each want a different level, even if they are in one folder.
- Pick one level per group. Medium for most web use; High only where a size limit forces it.
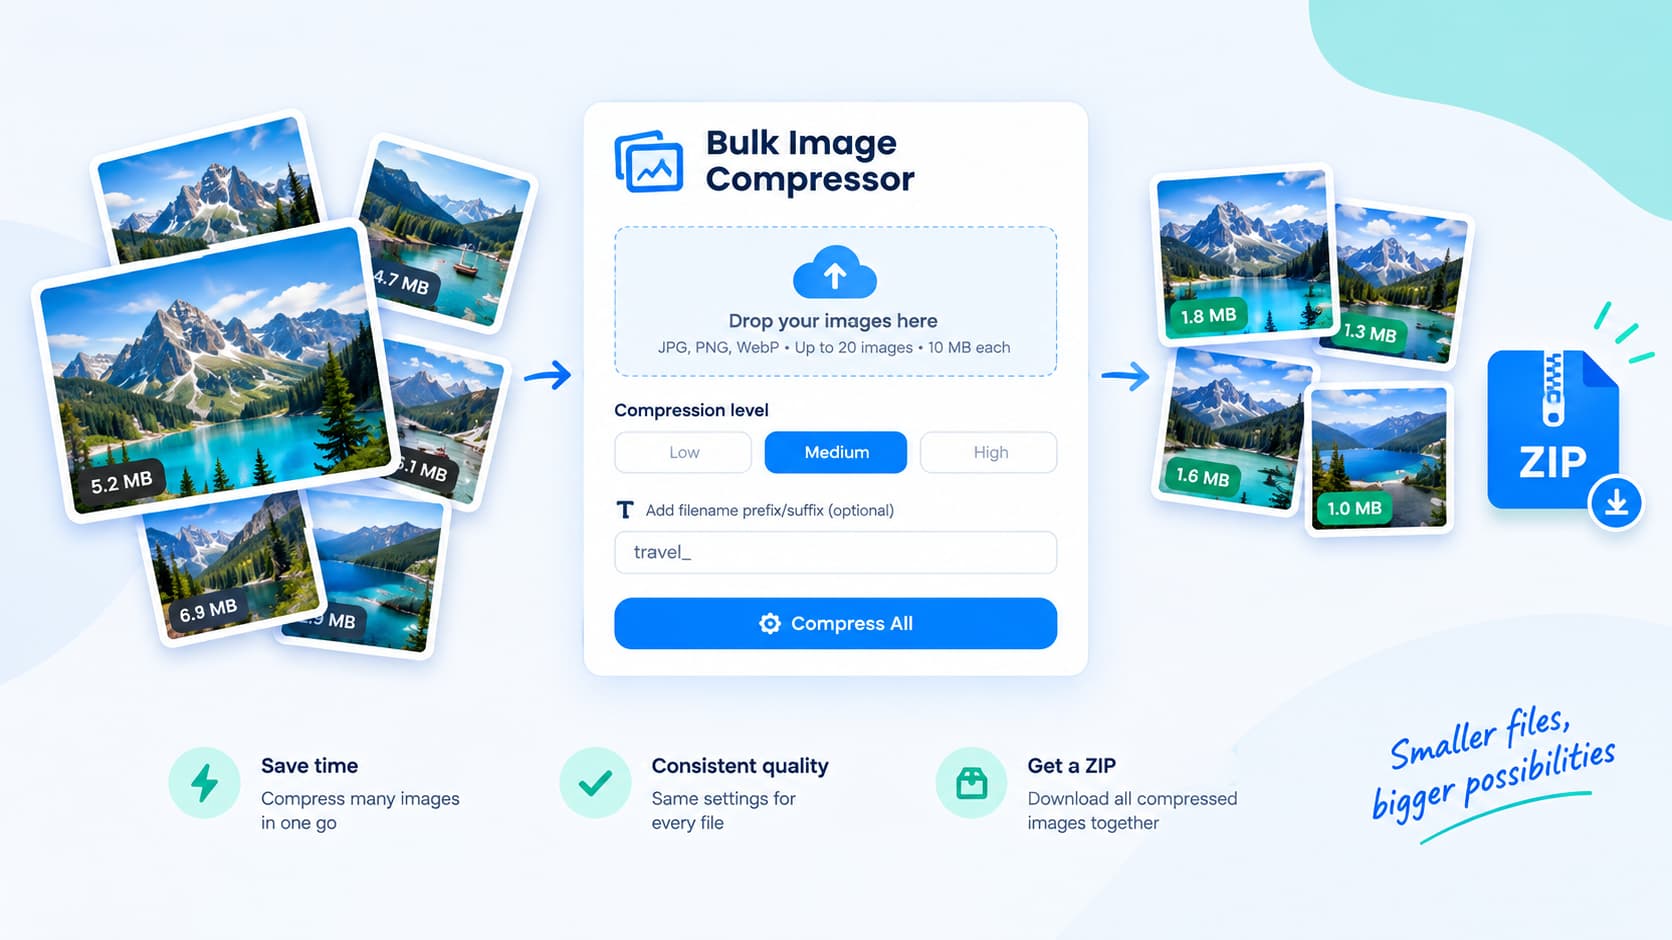
- Compress the batch in one pass with the same settings — that is exactly what a bulk image compressor is for: one level, one rename pattern, one ZIP out.
- Spot-check two results at 100% zoom before you ship the rest.
- Keep your originals somewhere else, so the batch you ship is the only compressed copy.
Common quality mistakes to avoid
- Compressing the same file repeatedly across tools and apps — each pass stacks loss on loss.
- Using the smallest-file setting instead of the smallest-file-that-looks-good setting.
- Batching incompatible content together — a batch of detailed photos and flat graphics wants different levels.
- Judging quality at thumbnail size — zoom to 100% and inspect edges and gradients before deciding a level is safe.
Bottom line
Compressing multiple images without losing quality is mostly a settings decision: start from your best source file, use a medium level for web images, match the format to the content, and compress in a single pass. Follow that and your batch gets meaningfully smaller without anything a visitor would notice.
Ready to try it? The free bulk image compressor handles up to 20 JPG, PNG, or WebP files at once, applies one level to the whole set, and lets you download the results as a single ZIP — no signup, and no files stored to disk.